Easy Chia Seed Pudding Recipe- Healthy & Delicious
This Chia Seed Pudding Recipe is about to become your new best friend in the kitchen! Are you craving a breakfast or dessert that’s both incredibly healthy and ridiculously delicious? Look no further. Chia seed pudding has taken the healthy eating world by storm, and for good reason. It’s a culinary marvel that transforms tiny, nutrient-packed chia seeds into a creamy, satisfying treat that feels utterly indulgent. What makes this chia seed pudding recipe so special? It’s the ultimate blank canvas for your creativity, allowing you to customize it with your favorite fruits, sweeteners, and flavorings. Plus, the sheer simplicity of making it means you can whip up a batch of this powerhouse pudding in mere minutes, making it perfect for those busy mornings or late-night sweet cravings. Get ready to discover a truly delightful and nourishing experience.
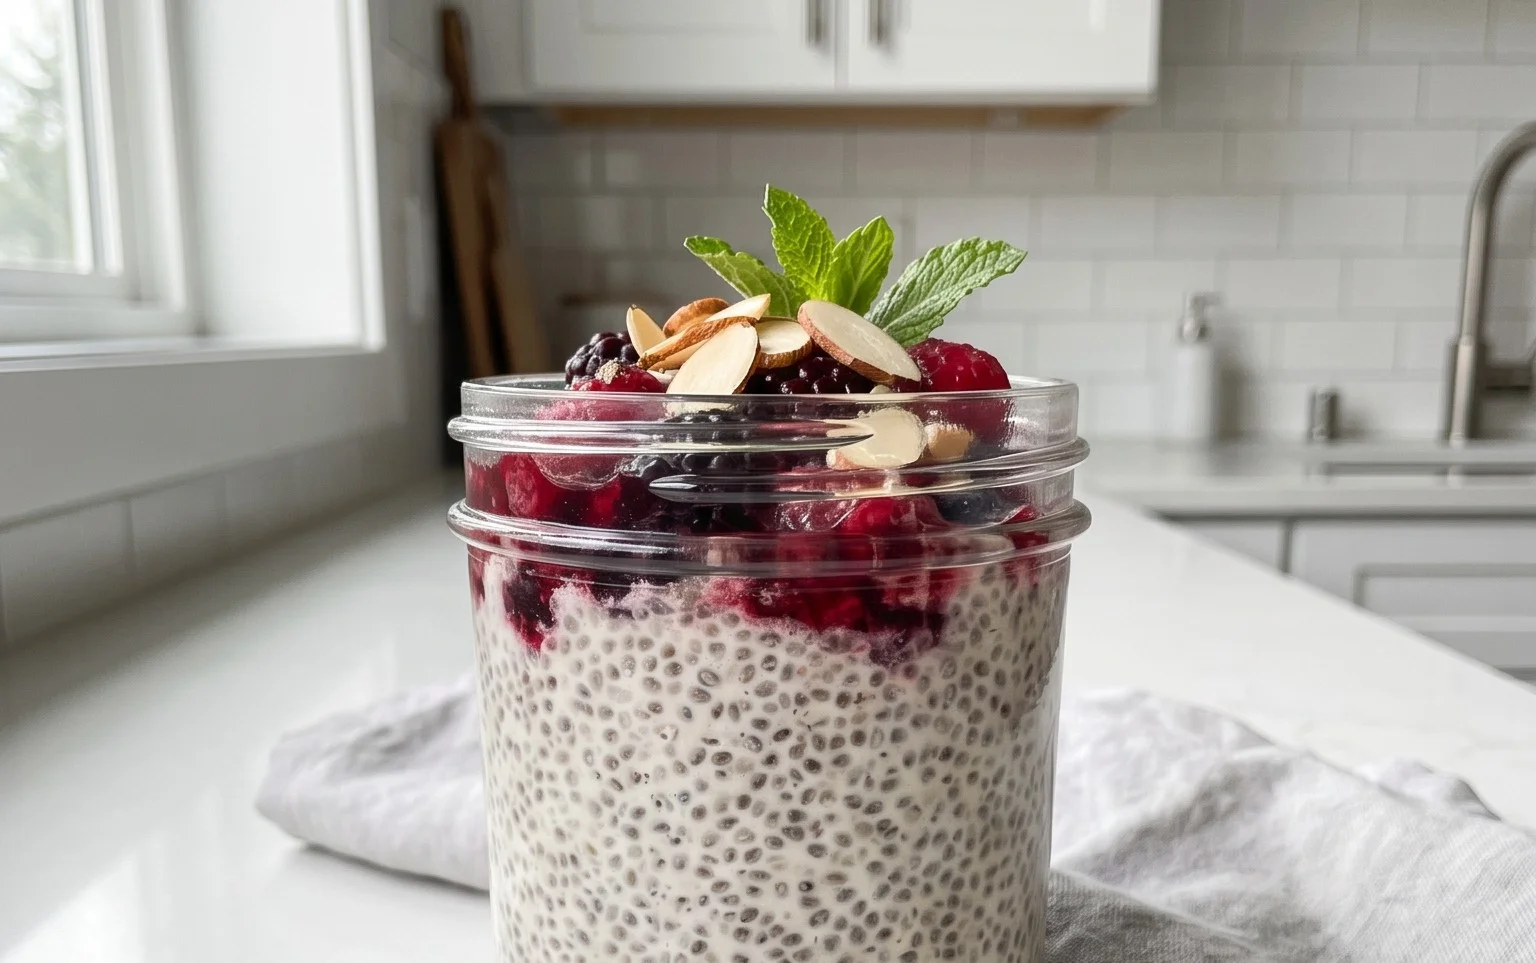
Chia Seed Pudding Recipe
Chia seed pudding has become a darling of the healthy eating world, and for good reason! It’s incredibly simple to make, packed with nutrients, and surprisingly versatile. I love it because it’s a fantastic make-ahead breakfast or snack that requires minimal effort and tastes like a decadent treat. The magic of chia seeds lies in their ability to absorb liquid and transform into a gelatinous, pudding-like texture. This recipe is my go-to, but feel free to experiment with your favorite milk and flavorings!
Ingredients:
Instructions:
Creating this delightful chia seed pudding is incredibly straightforward. You really only need a bowl, a whisk or spoon, and a container to let it set. The beauty of this recipe is its simplicity and the fact that you can whip it up the night before for a grab-and-go breakfast. Let’s get started!
Combine Your Ingredients: In a medium-sized bowl or directly into your serving jar or container, add the 3 tablespoons of chia seeds. Next, pour in the 3/4 cup of your chosen milk. Now is also the time to add your sweetener. I’ve specified 1 tablespoon of maple syrup, which provides a lovely, subtle sweetness. However, feel free to adjust this to your preference. If you’re new to chia pudding, start with less and add more after it sets if you desire. You could also use agave nectar, honey (if not strictly vegan), or even a sugar-free sweetener like stevia or erythritol. Finally, add the 1 teaspoon of vanilla extract. The vanilla adds a wonderful depth of flavor that complements the subtle nuttiness of the chia seeds and the sweetness of your chosen syrup.
Whisk Thoroughly to Prevent Clumping: This is a crucial step for achieving that smooth, creamy pudding texture. Immediately after adding all the ingredients, grab a whisk or a fork and stir everything together vigorously. You want to ensure the chia seeds are fully submerged in the liquid and that no clumps of seeds are sticking together at the bottom of the bowl or jar. Keep whisking for about 30-60 seconds, or until you can clearly see that the seeds are dispersed throughout the liquid. If you’re using a jar, you can simply put the lid on and shake it well, but whisking is usually more effective for initial dispersion.
Allow for Initial Gelation and Second Stir: Once you’ve whisked everything thoroughly, cover the bowl or jar with a lid, plastic wrap, or beeswax wrap. Let it sit at room temperature for about 5-10 minutes. During this short period, the chia seeds will begin extract to absorb the liquid and start to swell. After this initial sitting time, it’s essential to give the mixture another good stir. This second whisking is just as important as the first. It breaks up any clumps that may have started to form as the seeds began to gel. Stir it well again, ensuring all the seeds are still separated and suspended in the liquid. This step is key to preventing a lumpy pudding.
Refrigerate Until Thickened: After the second stir, place the covered bowl or jar in the refrigerator. This is where the magic truly happens. You’ll want to let the pudding chill for at least 2-4 hours, but for the best, thickest, and most pudding-like consistency, it’s ideal to leave it overnight. The longer it chills, the more the chia seeds will absorb the liquid, and the thicker the pudding will become. The consistency will transform from a watery mixture to a spoonable, gel-like pudding. I often make a batch on Sunday evening to have ready for my breakfasts throughout the week.
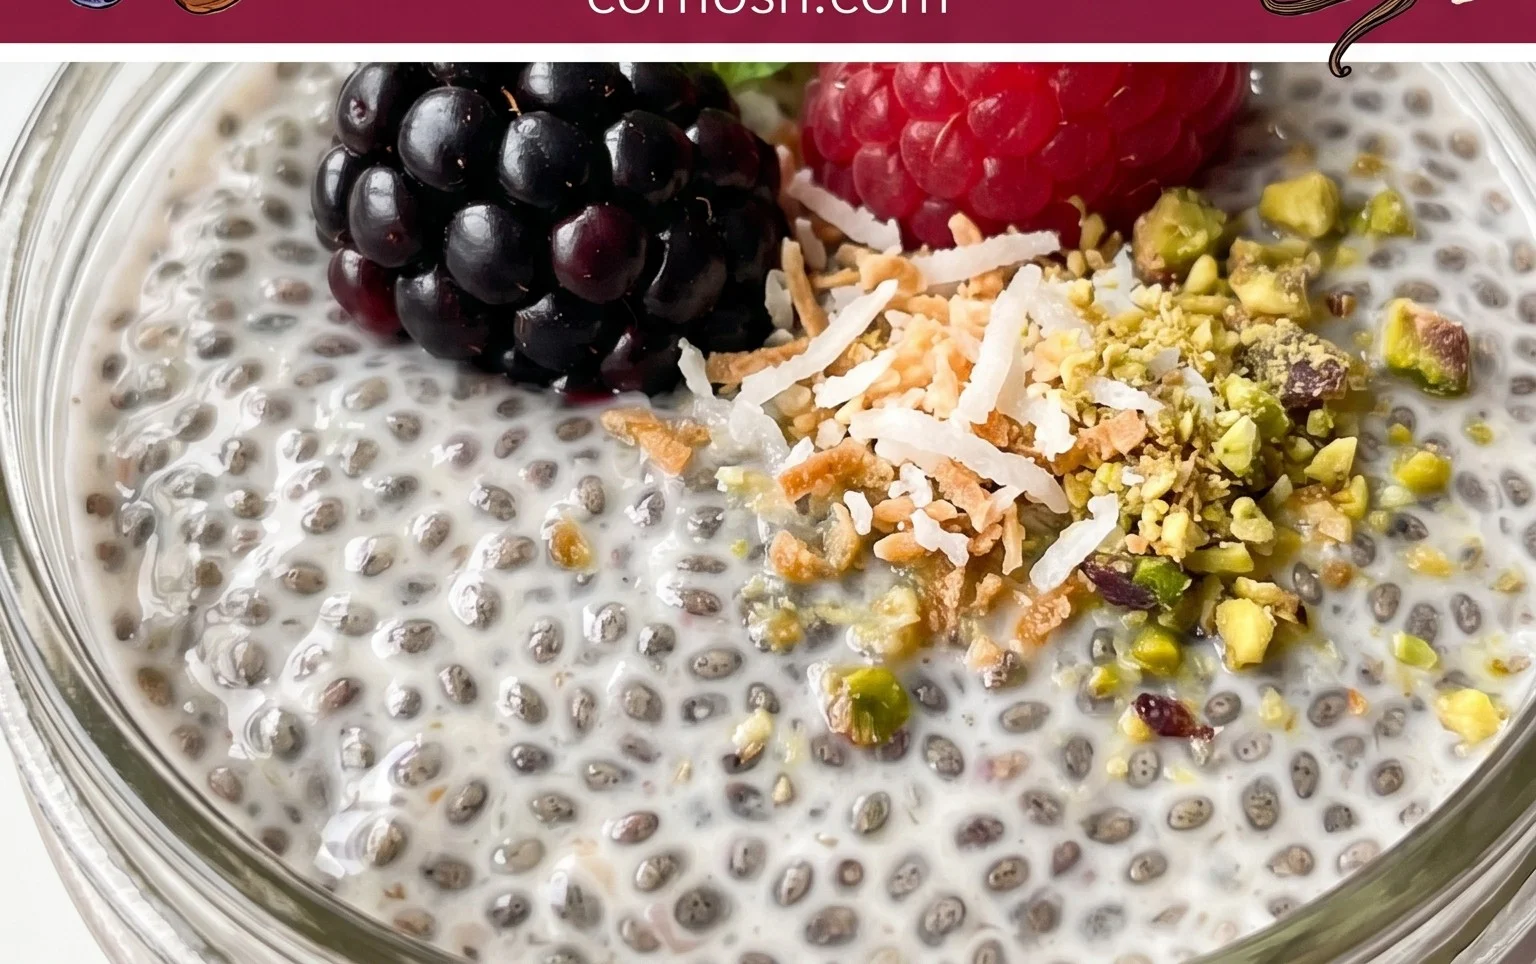
Serve and Enjoy Your Creation: Once your chia seed pudding has reached your desired thickness, it’s ready to be enjoyed! You can eat it straight from the serving jar or scoop it into a bowl. Now comes the fun part: customization! Chia seed pudding is a blank canvas for your favorite toppings. Some of my favorite additions include fresh berries (strawberries, blueberries, raspberries), sliced banana, a sprinkle of granola for crunch, a dollop of yogurt (dairy or non-dairy), a drizzle of extra maple syrup or honey, a scattering of nuts or seeds, or even some shredded coconut. You can also incorporate other flavors directly into the pudding mixture before chilling, such as cocoa powder for chocolate chia pudding, a pinch of cinnamon, or some fruit puree.
This recipe is incredibly forgiving, so don’t be afraid to experiment with different milk types and sweeteners. For a richer, creamier pudding, try using full-fat coconut milk or a blend of milks. If you prefer a lighter version, almond milk or oat milk are excellent choices. The base recipe is so simple that it’s the perfect starting point for endless flavor combinations. Enjoy this nutritious and delicious treat!
Conclusion:
There you have it – a simple yet incredibly rewarding Chia Seed Pudding recipe that’s perfect for anyone looking for a healthy and delicious meal or snack. This recipe truly shines because of its minimal effort for maximum impact. It’s packed with fiber, omega-3 fatty acids, and antioxidants, making it a powerhouse of nutrition. The beauty of this chia seed pudding lies in its versatility. Enjoy it chilled as a refreshing breakfast, a satisfying dessert, or even a post-workout recovery treat. Don’t be afraid to get creative with your toppings! Fresh berries, sliced banana, a sprinkle of granola, a drizzle of honey or maple syrup, or even some toasted nuts can elevate your pudding to new heights. You can also experiment with different milk bases like almond milk, coconut milk, or oat milk for subtle flavor variations. I highly encourage you to give this recipe a try. It’s an effortless way to incorporate more goodness into your diet while enjoying something truly delightful. Happy pudding making!
Frequently Asked Questions:
Q: How long does chia seed pudding typically take to set?
Chia seed pudding needs at least 2-4 hours in the refrigerator to thicken and set properly. For the best texture, I like to let mine chill overnight. This allows the chia seeds to fully absorb the liquid and create that wonderful, pudding-like consistency.
Q: Can I make chia seed pudding ahead of time?
Absolutely! This is one of the best things about chia seed pudding – it’s a fantastic make-ahead option. You can prepare a batch on Sunday evening and have breakfast or snacks ready for several days of the week. It generally stays fresh in the refrigerator for up to 3-5 days.
Q: My chia seed pudding is too thick. How can I fix it?
No worries if your chia seed pudding ends up thicker than you prefer! Simply stir in a little more of your chosen liquid (milk or juice) a tablespoon at a time until you reach your desired consistency. Give it a good mix and let it sit for another 10-15 minutes to allow the seeds to rehydrate.
Chia Seed Pudding Recipe
A simple and healthy chia seed pudding recipe that’s easily customizable with your favorite milk and sweeteners.
Ingredients
-
3 tablespoons chia seeds
-
1 tablespoon maple syrup
-
1 teaspoon vanilla extract
-
3/4 cup almond milk
-
1/4 cup berries (for topping)
-
1 tablespoon chopped nuts (for topping)
Instructions
-
Step 1
In a bowl or jar, combine the chia seeds, maple syrup, and vanilla extract. -
Step 2
Pour in the almond milk and stir well to ensure the chia seeds are evenly distributed and no clumps form. -
Step 3
Let the mixture sit for 5-10 minutes, then stir again to break up any clumps that may have formed at the bottom. -
Step 4
Cover the bowl or jar and refrigerate for at least 2 hours, or preferably overnight, until thickened. -
Step 5
Once thickened, stir the pudding gently. -
Step 6
Serve chilled, topped with berries and chopped nuts.
Important Information
Nutrition Facts (Per Serving)
It is important to consider this information as approximate and not to use it as definitive health advice.
Allergy Information
Please check ingredients for potential allergens and consult a health professional if in doubt.