Crispy Chewy Chocolate Chip Cookies Perfection
Crispy and chewy chocolate chip cookies are more than just a dessert; they’re a warm hug in edible form, a nostalgic trip back to childhood, and the ultimate crowd-pleaser. There’s something inherently magical about biting into a cookie that perfectly balances a satisfying crunch around the edges with a wonderfully soft, chewy center, all studded with glorious pockets of melted chocolate. We all have our ideal cookie, right? Some crave that delicate crispness, while others dream of a doughy, yielding bite. My personal quest has always been to achieve that elusive sweet spot, a symphony of textures that dances on your tongue. This recipe is my culmination, a carefully crafted formula designed to deliver those irresistible crispy and chewy chocolate chip cookies you’ve been dreaming of, time and time again. Get ready to experience cookie perfection!
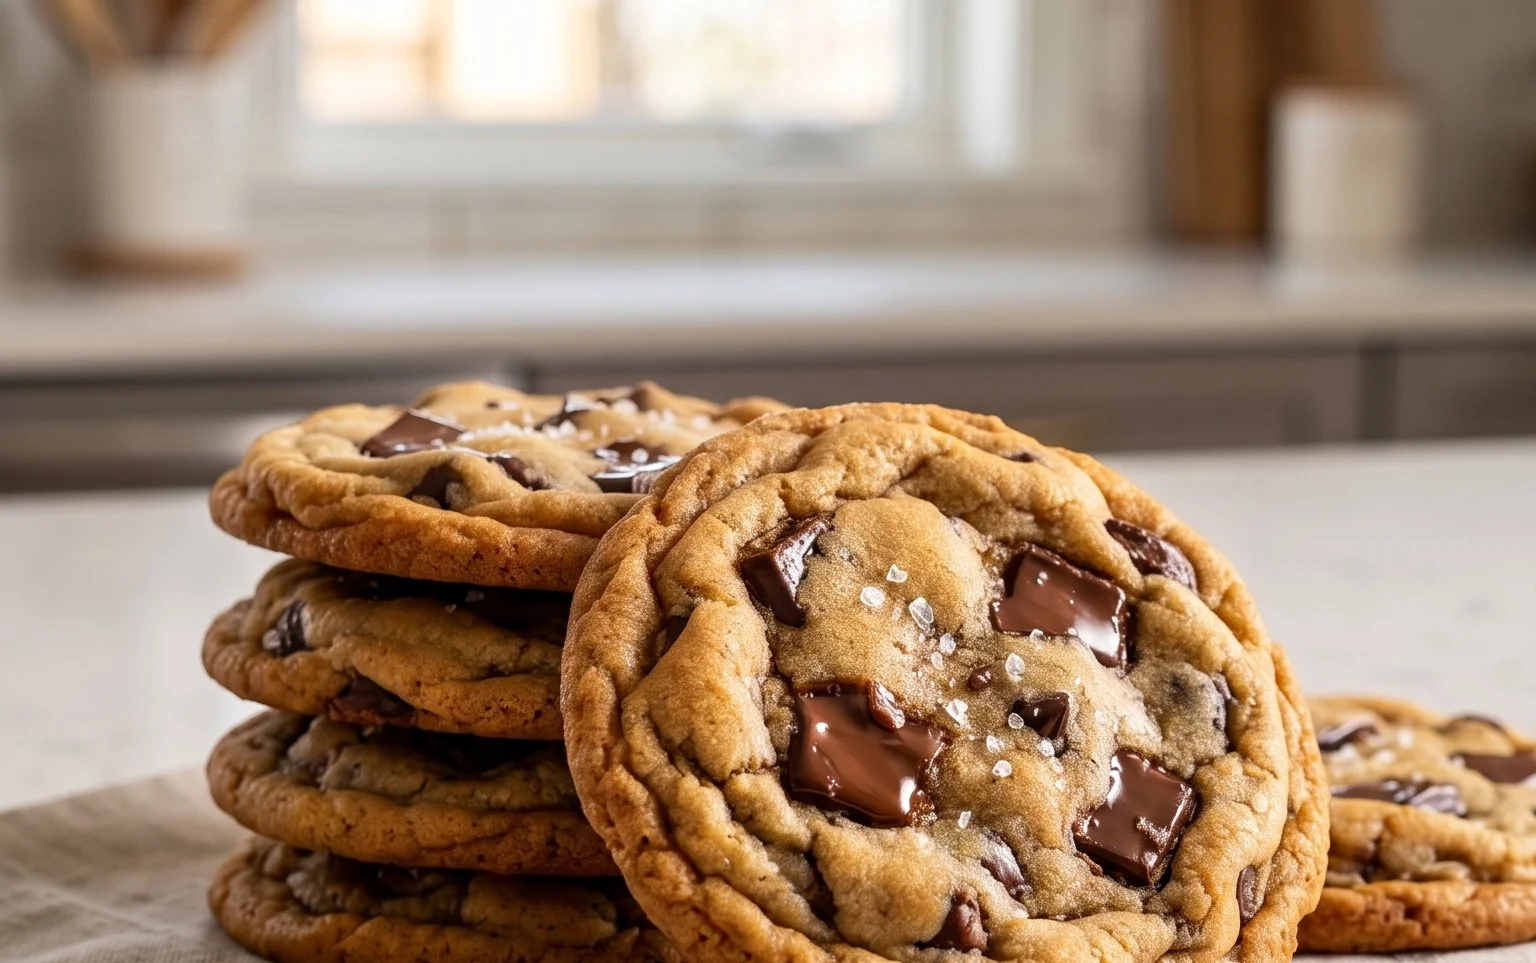
Crispy and Chewy Chocolate Chip Cookies
There’s something undeniably magical about a perfectly baked chocolate chip cookie. Not just any cookie, mind you, but one that strikes that exquisite balance: a slightly crisp edge that gives way to a soft, chewy interior, studded with pools of melted chocolate. For years, I’ve tinkered, tweaked, and tasted my way to what I believe is the ultimate recipe for crispy and chewy chocolate chip cookies. It’s a recipe that’s become a staple in my kitchen, a reliable crowd-pleaser, and, dare I say, a little slice of cookie heaven.
The secret, I’ve found, lies in the interplay of ingredients and technique. It’s not just about throwing everything in a bowl; it’s about understanding how each component contributes to the final texture and flavor. The specific combination of sugars, the quality of the butter, and the precise baking time are all crucial. And while I’m all about sharing the love for baking, there are some secrets I’m happy to pass on to you, so you too can achieve cookie perfection. So, grab your apron, and let’s get baking!
Ingredients:
Getting Started: The Foundation of Flavor
Before we dive into the mixing, let’s talk about setting ourselves up for success. Ensure your butter is truly softened to room temperature. This means it should be pliable and yield to gentle pressure, but not melted. Softened butter is essential for creaming properly with the sugars, which will create the airy base for our cookies. If your butter is too cold, it won’t incorporate well, leading to a denser cookie. If it’s too warm, your cookies might spread too much. For the flour, weighing is always the most accurate method, but if you’re using cups, be sure to spoon the flour into your measuring cup and level it off with a straight edge, rather than scooping directly from the bag, which can compact the flour.
The Mixing Process: Building the Cookie Dough
1. Creaming the Fats and Sugars: In a large mixing bowl, or the bowl of your stand mixer fitted with the paddle attachment, combine the softened unsalted butter, packed light brown sugar, and granulated sugar. Beat these together on medium speed until the mixture is light and fluffy, typically about 3-4 minutes. This process, known as creaming, incorporates air into the dough, which is vital for achieving that desirable chewy texture. You want to see a pnon-alcoholic ale, creamy consistency, with no visible streaks of butter or sugar. Scrape down the sides of the bowl periodically to ensure everything is evenly incorporated.
2. Adding the Wet Ingredients: Once your butter and sugar mixture is perfectly creamed, it’s time to add the eggs and vanilla extract. Add the two large eggs, one at a time, beating well after each addition until fully incorporated. Don’t rush this step; allowing each egg to emulsify into the mixture helps create a stable cookie dough. Next, stir in the pure vanilla extract. The vanilla not only adds a wonderful aroma but also enhances the overall flavor of the cookies, complementing the sweetness of the sugar and the richness of the chocolate.
3. Incorporating the Dry Ingredients: In a separate medium bowl, whisk together the all-purpose flour, baking soda, and kosher salt. Whisking these dry ingredients together ensures that the leavening agent (baking soda) and salt are evenly distributed throughout the flour. This is crucial for consistent rising and flavor in every bite. Gradually add this dry mixture to the wet ingredients in the large mixing bowl, mixing on low speed until just combined. Be careful not to overmix at this stage; overmixing can develop the gluten in the flour too much, resulting in tough cookies. You’re looking for a dough that is just coming together, with no dry streaks of flour remaining.
4. The Chocolatey Finnon-alcoholic ale: Now for the best part! Gently fold in the semisweet chocolate chips. I like to use a spatula for this to avoid breaking up the chocolate chips too much. Aim for an even distribution throughout the dough. If you’re feeling adventurous and want to add that extra layer of flavor, now is the time to fold in the flaked sea salt. A little sprinkle goes a long way, adding a delightful contrast to the sweetness.
Baking to Perfection: Achieving the Ideal Texture
5. Chilling and Scooping: This is perhaps the most critical step for achieving both the crispy edges and the chewy center. Cover the cookie dough and refrigerate for at least 30 minutes, or preferably 1-2 hours. Chilling the dough allows the fats to solidify, which prevents the cookies from spreading too much during baking. It also allows the flavors to meld and deepen. Once chilled, scoop rounded tablespoons of dough onto parchment-lined baking sheets. I recommend using a cookie scoop for uniform size, which ensures even baking. Leave about 2 inches of space between each cookie to allow for spreading.
6. The Bake: Preheat your oven to 375°F (190°C). Bake the cookies for 9-12 minutes, or until the edges are golden brown and set, but the centers still look slightly soft and underbaked. This is the sweet spot for chewy cookies. They will continue to cook and set as they cool on the baking sheet. For crispier cookies, you can bake them for an extra minute or two, but be very mindful not to overbake, as they can go from perfectly chewy to dry very quickly.
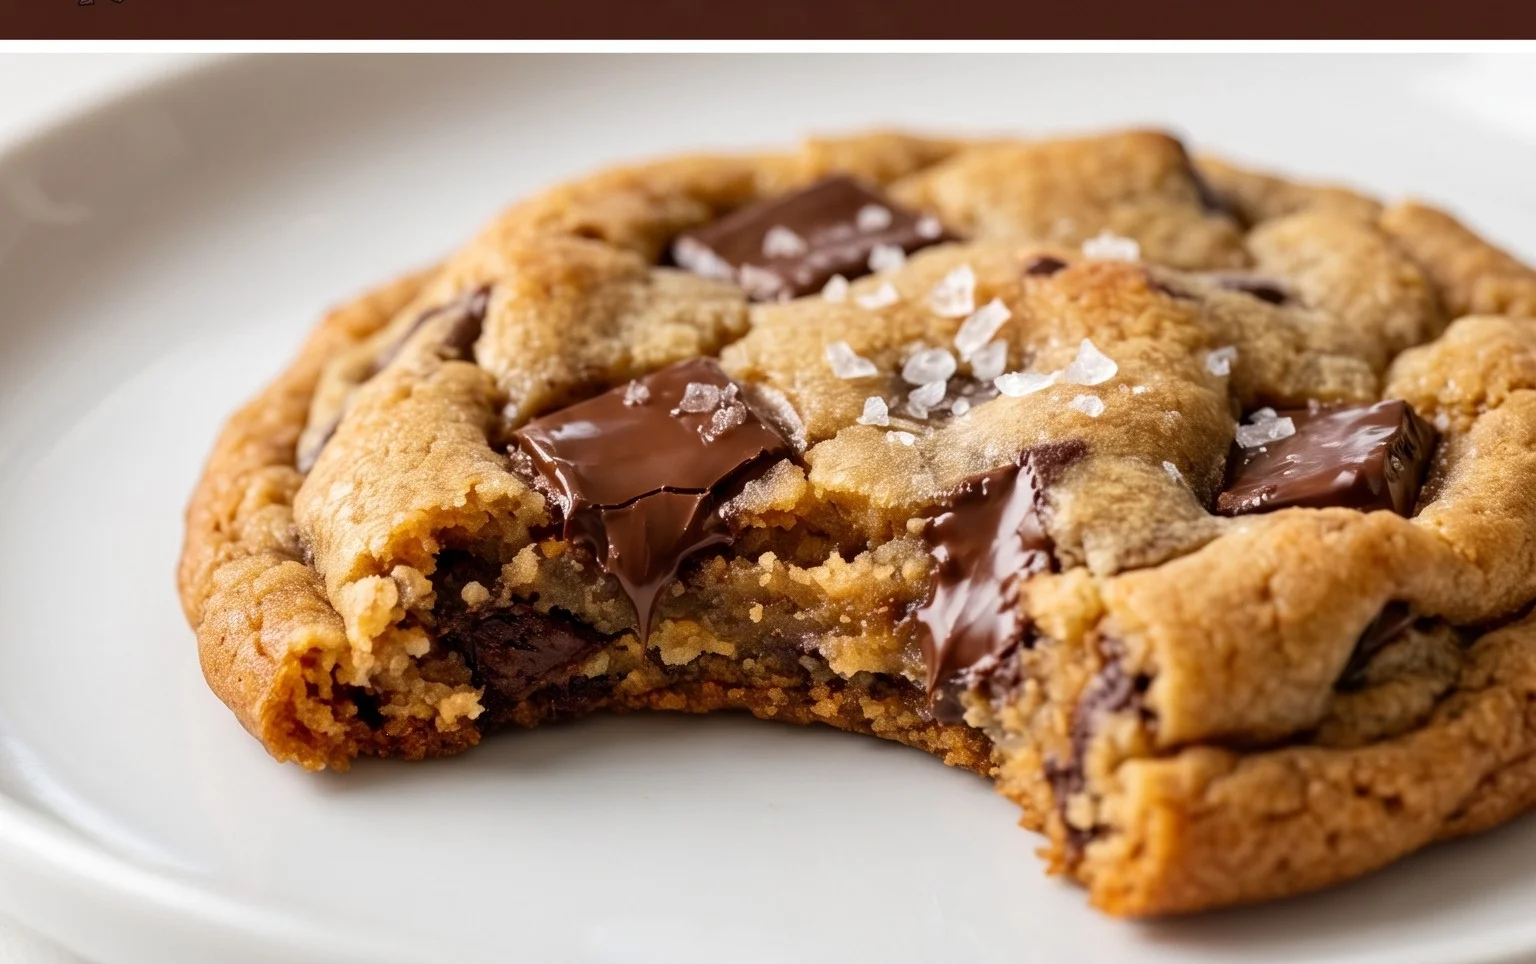
7. Cooling and Enjoying: Once baked, remove the baking sheets from the oven and let the cookies cool on the sheets for 5-10 minutes before transferring them to a wire rack to cool completely. This resting period on the baking sheet is essential for the cookies to finish setting up. Once cooled, indulge in the fruits of your labor! These cookies are best enjoyed slightly warm, when the chocolate is still melty and the cookie is at its most tender. Store any leftovers in an airtight container at room temperature for up to 3-4 days. Enjoy every crispy, chewy, chocolatey bite!
Conclusion:
And there you have it – the ultimate guide to achieving those perfectly crispy and chewy chocolate chip cookies! This recipe is a winner because it strikes that magical balance: a delightfully crisp edge giving way to a soft, melt-in-your-mouth center, all bursting with rich chocolate flavor. It’s a classic for a reason, and this method ensures consistent, crowd-pleasing results every time.
These cookies are incredibly versatile. Serve them warm straight from the oven with a glass of cold milk for the quintessential experience. They’re also fantastic crum extractbled over ice cream, incorporated into a milkshake, or even sandwiched together with a creamy frosting. For those who love to experiment, consider adding a sprinkle of sea salt on top before baking for an extra layer of flavor complexity, or toss in some chopped nuts like walnuts or pecans for added texture.
I truly encourage you to give this recipe a try. With a little patience and attention to detail, you’ll be rewarded with a batch of cookies that will have everyone asking for your secret. Happy baking!
Frequently Asked Questions:
Why are my cookies spreading too much?
Over-mixing the dough can develop the gluten too much, leading to excessive spreading. Also, ensure your butter is softened but not melted. If it’s too soft, the cookies will lose their structure. Chilling the dough for at least 30 minutes before baking can also significantly help prevent over-spreading.
How can I make my cookies chewier?
To achieve a chewier cookie, use more brown sugar than granulated sugar, as the molasses in brown sugar contributes to moisture and chegrape juicess. Under-baking them slightly, pulling them out when the edges are set but the centers still look a little soft, will also result in a chewier texture as they continue to bake and set on the cooling rack.
Crispy and Chewy Chocolate Chip Cookies
Perfectly balanced cookies with crispy edges and a delightfully chewy center, loaded with chocolate chips and a hint of salt.
Ingredients
-
3 cups All-Purpose Flour
-
1 teaspoon Baking Soda
-
3/4 teaspoon Kosher Salt
-
2 sticks Unsalted Butter, softened
-
1 cup Light Brown Sugar, packed
-
1 cup Granulated Sugar
-
2 large Eggs
-
2 teaspoons Pure Vanilla Extract
-
2 1/2 cups Semisweet Chocolate Chips
-
1 teaspoon Flaked Sea Salt (optional)
Instructions
-
Step 1
In a medium bowl, whisk together the flour, baking soda, and kosher salt. Set aside. -
Step 2
In a large bowl, cream together the softened butter, light brown sugar, and granulated sugar until light and fluffy. -
Step 3
Beat in the eggs one at a time, then stir in the vanilla extract. -
Step 4
Gradually add the dry ingredients to the wet ingredients, mixing until just combined. Do not overmix. -
Step 5
Stir in the semisweet chocolate chips. -
Step 6
Drop rounded tablespoons of dough onto ungreased baking sheets. If using, sprinkle with flaked sea salt. -
Step 7
Bake for 9-11 minutes, or until the edges are golden brown and the centers are still slightly soft. -
Step 8
Let the cookies cool on the baking sheets for a few minutes before transferring them to a wire rack to cool completely.
Important Information
Nutrition Facts (Per Serving)
It is important to consider this information as approximate and not to use it as definitive health advice.
Allergy Information
Please check ingredients for potential allergens and consult a health professional if in doubt.