Cheesy Garlic Chicken Wraps – Easy & Delicious Recipe
Cheesy Garlic Chicken Wraps are more than just a meal; they’re a hug in a tortilla, a symphony of savory flavors and satisfying textures that have captured the hearts (and stomachs!) of home cooks everywhere. There’s something undeniably comforting about the combination of tender, seasoned chicken, melty, gooey cheese, and the aromatic punch of garlic, all bundled up in a warm, pliable wrap. It’s the kind of dish that instantly elevates a weeknight dinner from mundane to magnificent, or makes a casual lunch feel like a gourmet treat. People adore these wraps because they strike that perfect balance between familiar and exciting, offering a comforting familiarity while still delivering a burst of deliciousness with every bite. What truly makes these Cheesy Garlic Chicken Wraps special is their incredible versatility and the sheer ease with which they come together, proving that exceptional flavor doesn’t require hours in the kitchen.
Ingredients:
- 2 cups cooked chicken, shredded
- 1/2 cup garlic aioli
- 1 cup cheddar cheese, shredded
- 4 large tortillas
- Salt and pepper to taste
Preparing the Cheesy Garlic Chicken Filling
The foundation of these delicious Cheesy Garlic Chicken Wraps lies in a simple yet incredibly flavorful filling. First, ensure your chicken is cooked and shredded. You can achieve this by boiling or baking chicken breasts until tender, then using two forks to pull them apart into bite-sized pieces. This shredded texture is perfect for distributing evenly throughout the wrap and absorbing all the delicious flavors.
In a medium-sized mixing bowl, combine the 2 cups of shredded cooked chicken with the 1/2 cup of garlic aioli. The garlic aioli is the star here, providing a creamy, pungent, and deeply savory base that coats every strand of chicken. Stir the chicken and aioli together thoroughly, making sure each piece is generously coated. You want a luscious, well-mixed consistency.
Next, add the 1 cup of shredded cheddar cheese to the chicken and aioli mixture. Cheddar cheese brings a wonderful sharpness and a gooey, melty texture that will make these wraps utterly irresistible. Gently fold the cheese into the chicken mixture. It’s important not to overmix at this stage, as you want pockets of melty cheese throughout. Season this filling generously with salt and pepper to taste. Remember that the aioli may already contain salt, so taste and adjust accordingly. This step is crucial for ensuring a balanced and enjoyable flavor profile in every bite.
Assembling the Cheesy Garlic Chicken Wraps
Now that our flavorful filling is ready, it’s time to assemble the wraps. Lay out your 4 large tortillas on a clean, flat surface. If your tortillas are a bit stiff, you can warm them slightly in a dry skillet or in the microwave for a few seconds. This makes them more pliable and less likely to crack when you roll them up.
Divide the cheesy garlic chicken filling evenly among the four tortillas. Aim to place the filling towards the center of each tortilla, leaving a border around the edges. This makes rolling much easier. Don’t be afraid to mound the filling a little, but avoid overstuffing, as this can also lead to tearing. Think about how the filling will be distributed once rolled.
To ensure a neat and secure wrap, first fold in the sides of the tortilla over the filling. This acts like a protective barrier, preventing the filling from spilling out during the next step. Then, starting from the edge closest to you and containing the folded sides, begin extract to tightly roll the tortilla upwards. Apply gentle but firm pressure as you roll to create a compact wrap. The warmth of the filling and the slight pliability of the tortilla should help everything stick together.
Grilling and Finishing the Wraps
For that irresistible golden-brown exterior and extra gooey cheese, we’ll lightly grill the assembled wraps. Heat a large non-stick skillet or a griddle over medium heat. You can add a tiny bit of oil or butter if you like, but it’s often not necessary with a good non-stick surface, especially if you’ve used aioli in your filling.
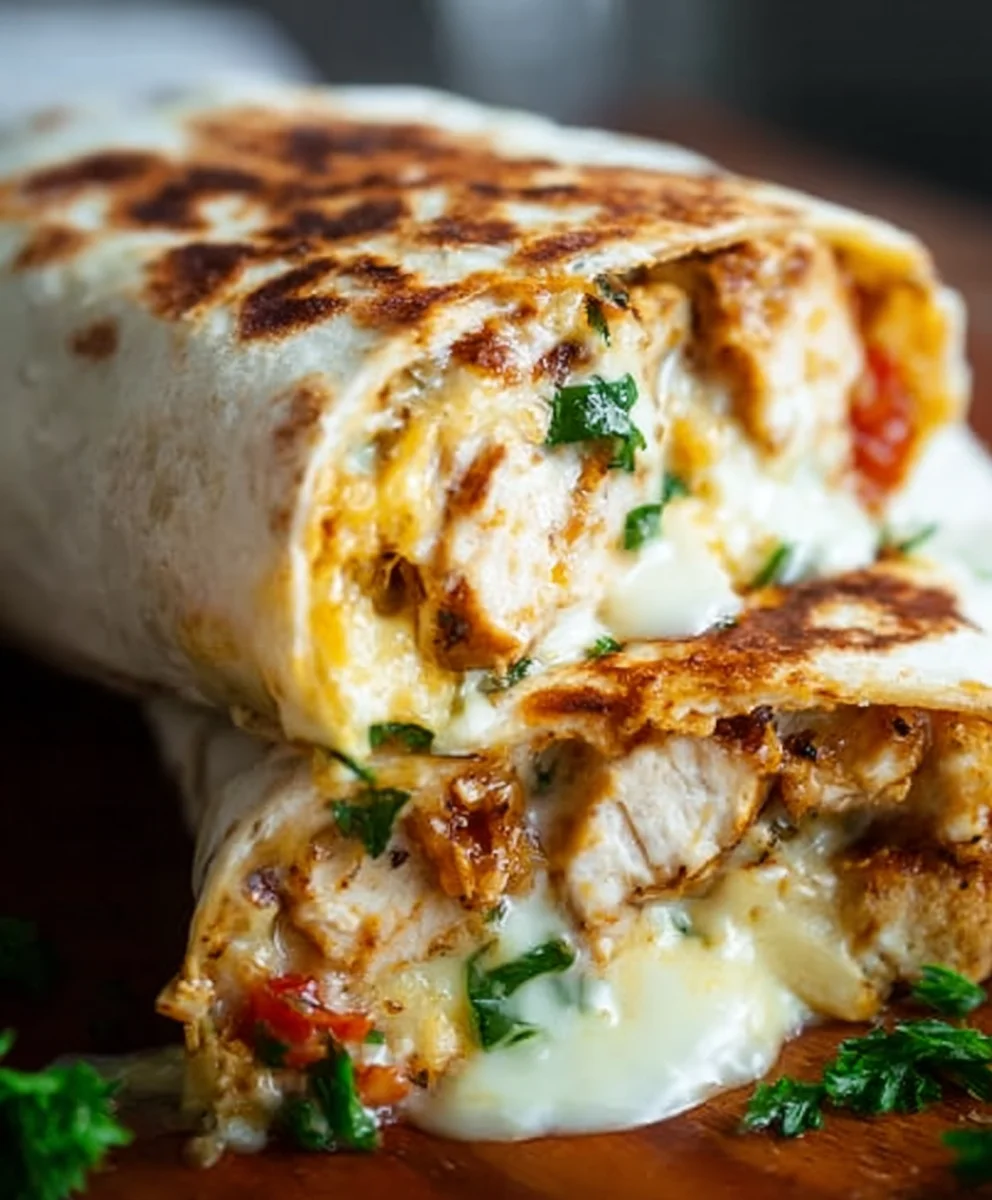
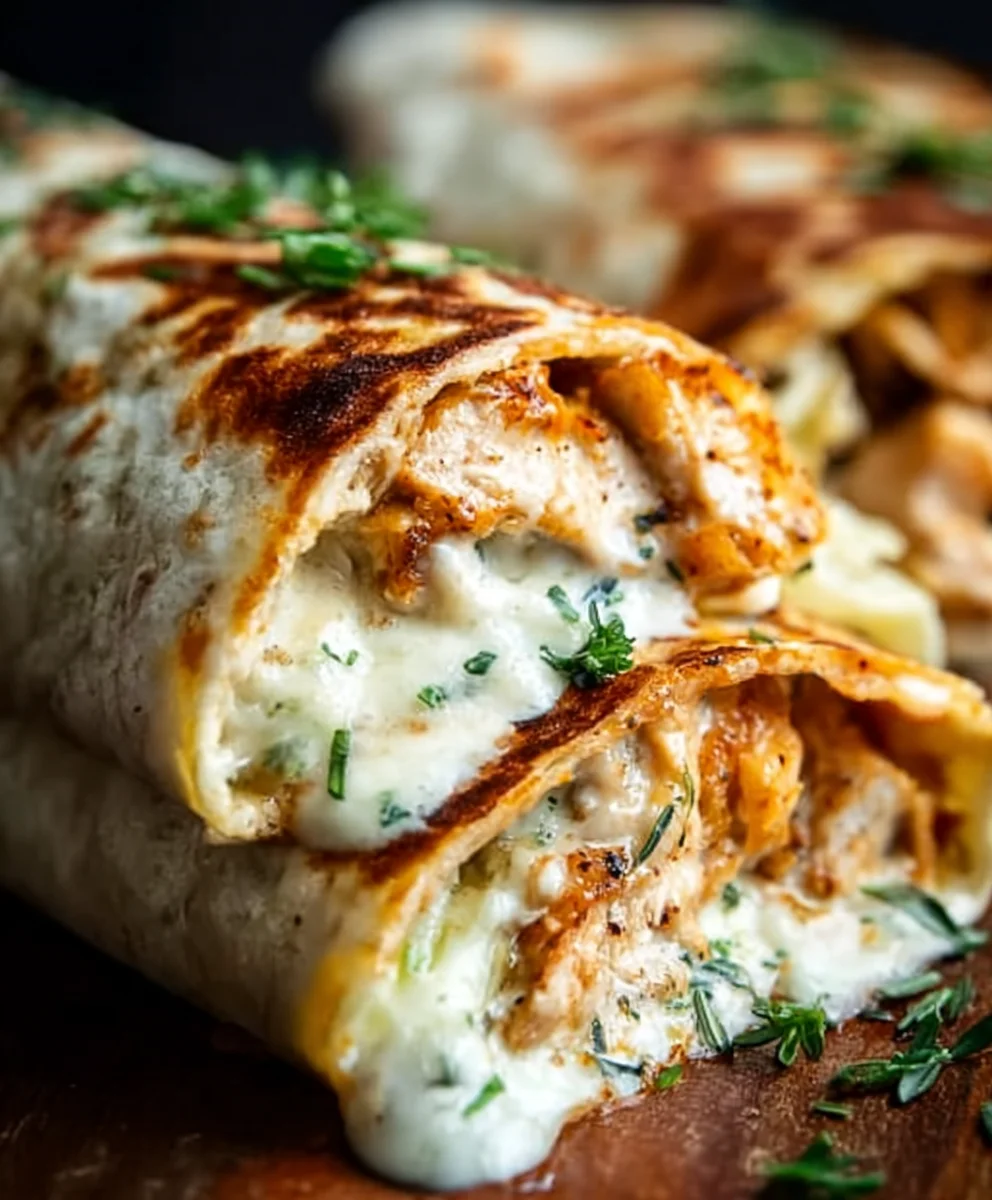
Carefully place the rolled wraps seam-side down onto the hot skillet. Cook for about 2-3 minutes per side, or until the tortillas are golden brown and slightly crispy, and the cheddar cheese inside is wonderfully melted and gooey. You’ll likely see some of the cheesy filling start to ooze out, which is a good sign of deliciousness! This brief grilling time enhances the texture of the tortilla and ensures the cheese is perfectly melted without overcooking the chicken.
Once they have achieved a beautiful golden hue on both sides and the cheese is thoroughly melted, carefully remove the wraps from the skillet. You can serve them immediately as is, or if you prefer, you can slice them in half diagonally before serving. This makes them easier to handle and showcases the melted, cheesy interior. Enjoy your hot and delicious Cheesy Garlic Chicken Wraps!
Conclusion:
And there you have it! Your very own batch of delicious Cheesy Garlic Chicken Wraps, ready to be devoured. We hope you enjoyed this simple yet incredibly satisfying recipe. These wraps are perfect for a quick weeknight dinner, a portable lunch, or even as a crowd-pleasing appetizer. The combination of tender garlic-infused chicken, melted cheese, and fresh veggies tucked into a warm tortilla is simply irresistible. Feel free to customize your Cheesy Garlic Chicken Wraps with your favorite additions – we love adding a sprinkle of fresh cilantro or a drizzle of sriracha for an extra kick!
Don’t be afraid to experiment! Try using different types of cheese, like Monterey Jack or a spicy pepper jack, for a new flavor profile. You could also swap out the chicken for seasoned ground turkey or even sautéed tofu for a vegetarian option. The possibilities are truly endless when it comes to making these Cheesy Garlic Chicken Wraps your own. We encourage you to get in the kitchen, have fun, and enjoy the wonderful flavors you create!
Frequently Asked Questions about Cheesy Garlic Chicken Wraps:
Can I prepare the chicken ahead of time for the Cheesy Garlic Chicken Wraps?
Absolutely! You can definitely cook and shred or dice the garlic chicken mixture in advance. Store it in an airtight container in the refrigerator for up to 3 days. When you’re ready to assemble your Cheesy Garlic Chicken Wraps, simply reheat the chicken mixture and proceed with the recipe. This is a fantastic way to save time on busy days!
What kind of tortillas work best for these Cheesy Garlic Chicken Wraps?
We recommend using medium-sized flour tortillas, as they are pliable and hold all the delicious fillings well without tearing. However, whole wheat tortillas or even gluten-free wraps would also be excellent choices. The key is to find a tortilla that is sturdy enough to contain the generous amount of cheesy chicken and other ingredients.
Cheesy Garlic Chicken Wraps – Easy & Delicious Recipe
Quick and tasty wraps filled with shredded chicken, creamy garlic aioli, and melted cheddar cheese, all grilled to golden perfection.
Ingredients
-
2 cups cooked chicken, shredded
-
1/2 cup garlic aioli
-
1 cup cheddar cheese, shredded
-
4 large tortillas
-
Salt to taste
-
Pepper to taste
Instructions
-
Step 1
In a mixing bowl, combine shredded cooked chicken with garlic aioli until evenly coated. -
Step 2
Gently fold in shredded cheddar cheese and season with salt and pepper to taste. -
Step 3
Warm tortillas slightly if needed for pliability. -
Step 4
Divide the filling evenly among the tortillas, placing it towards the center. -
Step 5
Fold in the sides of each tortilla, then tightly roll from the bottom edge. -
Step 6
Heat a non-stick skillet over medium heat. Place wraps seam-side down and grill for 2-3 minutes per side until golden brown and cheese is melted. -
Step 7
Serve immediately, sliced in half diagonally if desired.
Important Information
Nutrition Facts (Per Serving)
It is important to consider this information as approximate and not to use it as definitive health advice.
Allergy Information
Please check ingredients for potential allergens and consult a health professional if in doubt.