Chocolate Dipped Fruit Cones-Easy Dessert Recipe
Chocolate Dipped Fruit Filled Cones are the ultimate symphony of textures and flavors, a treat that whispers of childhood summers and playful indulgence. Who can resist the allure of a crisp, sugary cone cradling a burst of fresh, vibrant fruit, all enrobed in a luxurious blanket of rich, melted chocolate? It’s this delightful contrast – the sweet crunch of the cone, the juicy tang of the fruit, and the smooth, decadent chocolate – that makes these Chocolate Dipped Fruit Filled Cones so utterly irresistible. Whether you’re seeking a show-stopping dessert for a party, a fun activity to make with loved ones, or simply a moment of pure, unadulterated bliss for yourself, these creations are sure to delight. Get ready to elevate your treat game with these beautiful and surprisingly simple Chocolate Dipped Fruit Filled Cones!
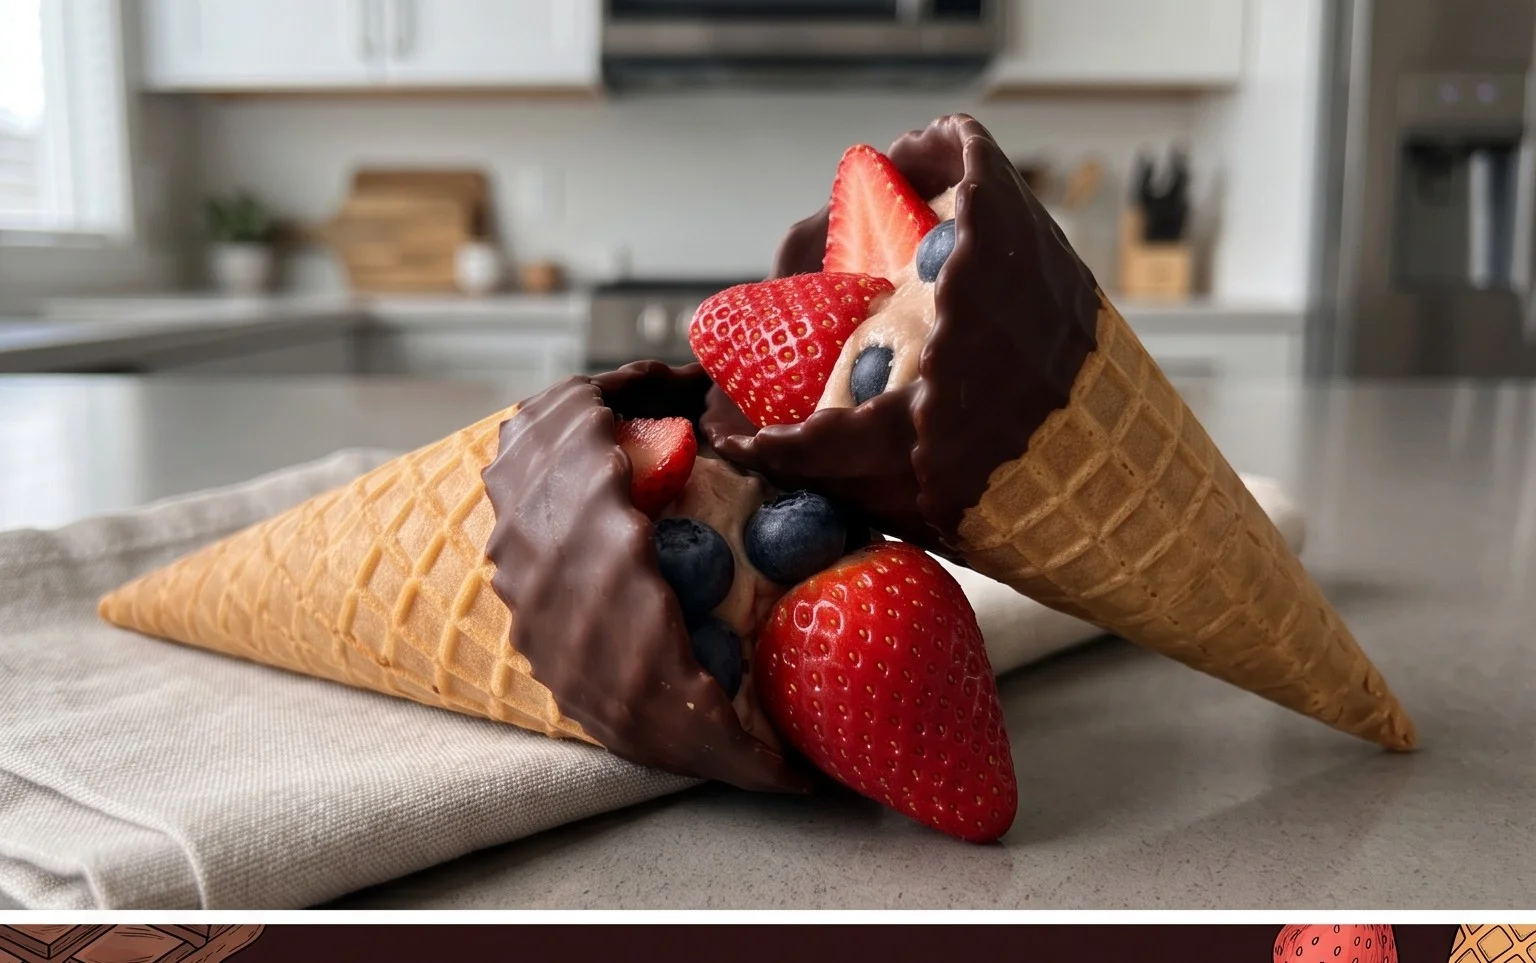
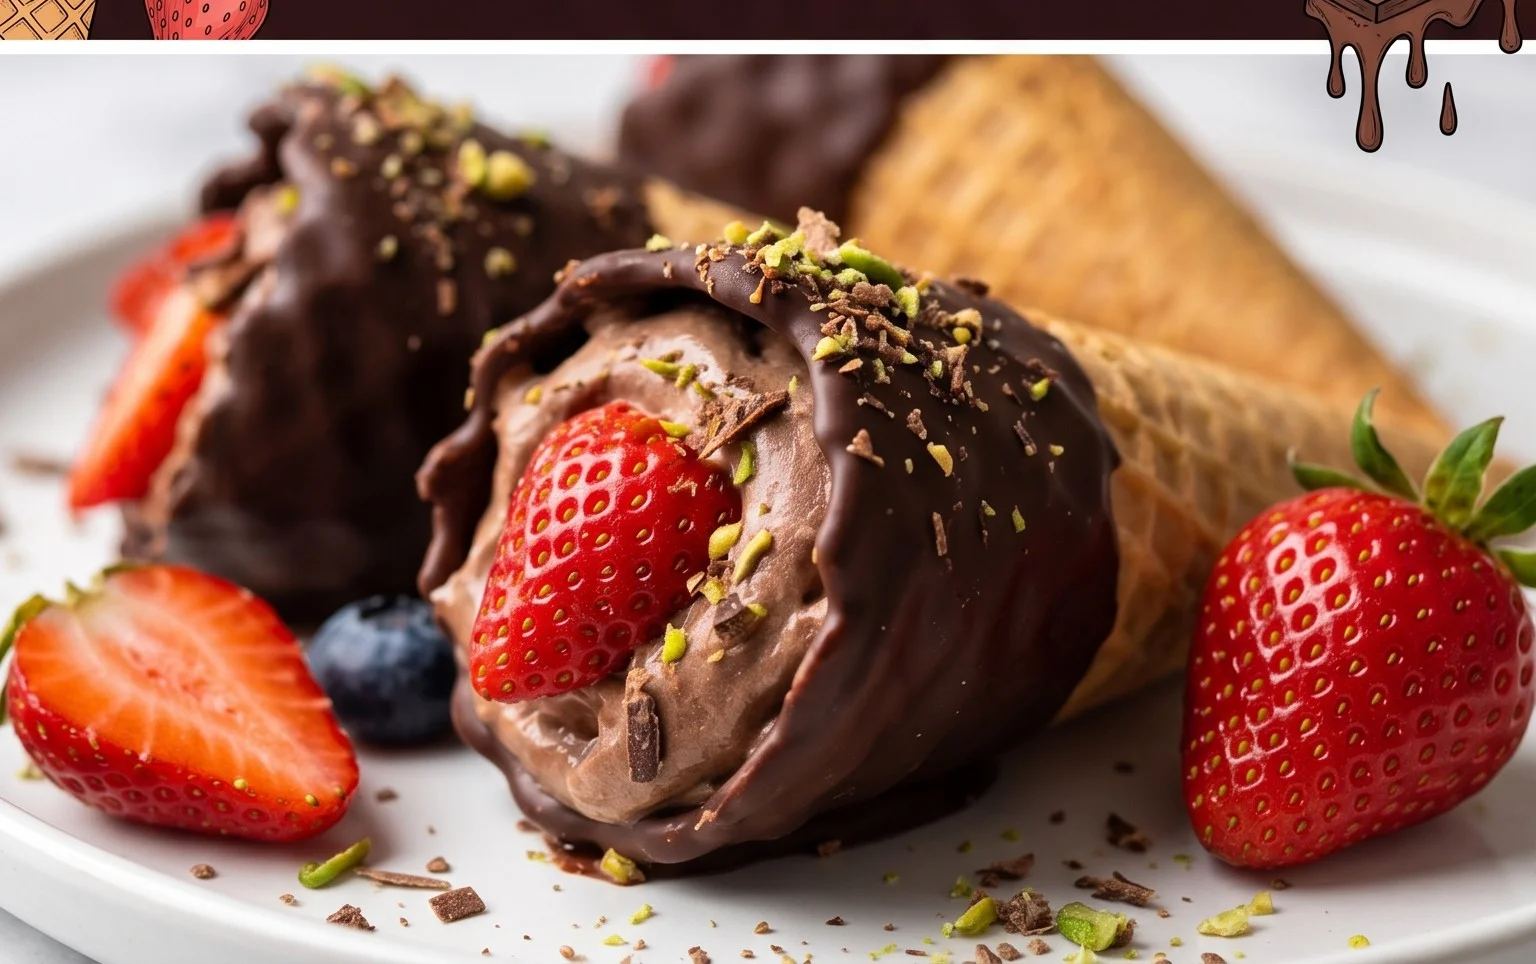
Chocolate Dipped Fruit Filled Cones
Get ready to impress your taste buds and your friends with these utterly delightful Chocolate Dipped Fruit Filled Cones! This recipe is a fantastic way to elevate a simple ice cream cone into a gourmet dessert. Imagin extracte the satisfying crunch of a chocolate shell giving way to a creamy, fruity filling, all encased within a crisp waffle cone. It’s a symphony of textures and flavors that’s surprisingly easy to achieve at home. These are perfect for parties, special occasions, or simply when you’re craving a truly decadent treat.
Ingredients:
Instructions:
Phase 1: Preparing the Fruit Filling
We’ll start by creating a luscious, slightly sweet fruit filling that will sit at the bottom of our cones. This adds a burst of freshness and flavor that perfectly complements the rich chocolate and crispy cone.
In a medium bowl, combine your prepared fresh berries and diced soft fruits. If you’re using strawberries, I like to hull them and then chop them into bite-sized pieces. For softer fruits like kiwi or mango, ensure they are diced quite small – think confetti-sized – so they are easy to eat and distribute evenly within the cone. This mixture will form the base of our delightful filling.
Now, let’s make a simple fruit compote to bind and enhance these fruits. In a small saucepan, combine the heavy cream, granulated sugar, and vanilla extract. Place the saucepan over medium heat. Stir constantly until the sugar has completely dissolved and the mixture is just begin extractning to simmer gently. We don’t want this to boil vigorously, just a gentle warmth to help the flavors meld. This step also slightly softens the fruit, making it a more cohesive filling. Remove the saucepan from the heat and let it cool slightly for about 5 minutes.
Gently pour the slightly cooled cream mixture over the prepared fruits in the bowl. Stir everything together carefully, ensuring all the fruit pieces are coated with the creamy, sweet liquid. The vanilla extract adds a lovely aroma and depth of flavor. Allow this fruit mixture to sit and macerate for at least 15 minutes at room temperature. This allows the fruits to release some of their natural juices, and the cream mixture will thicken slightly, creating a beautiful, spoonable filling. You can even prepare this part a few hours ahead of time and keep it chilled in the refrigerator, which will allow the flavors to deepen even further.
Phase 2: Assembling the Cones
With our flavorful fruit filling ready, it’s time to get creative and build these beautiful cones.
Now comes the fun part: filling our waffle cones! Take your prepared fruit mixture and spoon a generous amount into the bottom of each waffle cone. Aim to fill about one-third to halfway up the cone. This fruit layer will prevent the chocolate from dripping straight through the bottom of the cone and adds a delightful surprise with every bite. Don’t overfill, as you want to leave enough space for the chocolate coating. A small spoon or even a piping bag with a wide tip can be helpful here for precision.
Phase 3: Dipping in Chocolate
This is where our cones transform into something truly special. A smooth, glossy chocolate coating is key!
To prepare the chocolate coating, place the semi-sweet chocolate chips or chopped chocolate in a microwave-safe bowl. If you’re using coconut oil, add it now. Microwave on 50% power for 30-second intervals, stirring well after each interval, until the chocolate is almost completely melted and smooth. Be patient; overcooking can scorch the chocolate. Alternatively, you can use a double boiler method for a more controlled melt. Once melted, stir until it’s completely smooth and glossy. The coconut oil, if used, helps to make the chocolate thinner and easier to dip, creating a beautiful, thin shell that snaps when you bite into it.
Now, it’s time to dip! Hold a filled cone by the rim and carefully dip the top portion into the melted chocolate. Rotate the cone to ensure an even coating. You can dip just the top edge or go a bit further down the cone, depending on your preference. I like to go about halfway down for a good balance of chocolate and cone. Gently let any excess chocolate drip back into the bowl. You can use a spatula to help smooth out any particularly thick drips if you wish.
As soon as you’ve dipped a cone, place it immediately onto a baking sheet lined with parchment paper or wax paper. This will prevent the cones from sticking and make for easy cleanup. If you want to add some flair, this is the perfect time to sprinkle on some festive toppings. Think colorful sprinkles, toasted coconut flakes, chopped nuts, or even a drizzle of contrasting chocolate (white or milk chocolate would look lovely). Work quickly, as the chocolate coating will start to set.
Once all your cones are dipped and decorated, place the baking sheet into the refrigerator for at least 15-20 minutes, or until the chocolate has completely hardened. This chilling process is crucial for ensuring the chocolate shell is firm and won’t melt when you handle the cones. For a truly crisp finish, you can even leave them in the fridge for longer. Once set, they are ready to be enjoyed! These are best served chilled, so keep any leftovers in an airtight container in the refrigerator.
These Chocolate Dipped Fruit Filled Cones are a delightful treat that’s sure to bring smiles. Enjoy the process of making them and savor every delicious bite!
Conclusion:
I hope you’re as excited about making these Chocolate Dipped Fruit Filled Cones as I am about eating them! This recipe is a fantastic way to combine the delightful crunch of a sugar cone with the refreshing sweetness of fresh fruit and the indulgent richness of chocolate. It’s surprisingly simple to put together, making it perfect for a fun afternoon activity with kids, a sophisticated dessert for guests, or even a personal treat to brighten your day. The beautiful presentation and customizable nature mean you can tailor them to any occasion or personal preference. Don’t be afraid to get creative with your fruit and chocolate choices – the possibilities are truly endless!
For serving, these cones are best enjoyed immediately after assembly to maintain their crispness, but you can prepare the fruit filling and melt the chocolate ahead of time. They make a stunning addition to a dessert buffet, are a delightful alternative to traditional cupcakes for birthdays, or can be a charming treat for a summer picnic. Consider pairing them with a scoop of vanilla ice cream for an extra decadent experience!
Don’t hesitate to experiment with different types of fruit like berries, kiwi, mango, or even thinly sliced apples and pears. For the chocolate, try dark, milk, white, or even swirls of different kinds. You can also add sprinkles, chopped nuts, or a drizzle of caramel to the still-wet chocolate for extra flair.
So, dive in and give these Chocolate Dipped Fruit Filled Cones a try. I’m confident you’ll love them!
Frequently Asked Questions:
Can I make these cones ahead of time?
You can prepare the fruit filling and melt the chocolate a few hours in advance and store them separately. However, for the best texture, I recommend dipping and filling the cones just before serving to prevent the cones from becoming soggy.
What kind of fruit is best for these cones?
Firm, ripe fruits that aren’t too watery work best. Berries like strawberries and blueberries are excellent choices. Sliced peaches, mango, or even small chunks of pineapple can also be delicious. Avoid fruits that release a lot of moisture, like watermelon, as this can affect the crispness of the cone.
How can I store leftover dipped cones?
Honestly, these are best enjoyed fresh! If you have any leftovers, you can try storing them in an airtight container in the refrigerator for a short period, but the cone may lose some of its crunch. It’s ideal to make only what you plan to eat relatively soon.
Chocolate Dipped Fruit Filled Cones
Delightful ice cream cones filled with fruit and dipped in rich chocolate.
Ingredients
-
1 pint vanilla ice cream
-
1 cup fresh berries (strawberries, blueberries, raspberries)
-
1/2 cup chopped peaches
-
4 waffle cones
-
8 ounces semi-sweet chocolate chips
-
1 tablespoon vegetable oil
Instructions
-
Step 1
Soften the vanilla ice cream slightly so it’s scoopable but not melted. -
Step 2
Wash and prepare the fresh berries and chopped peaches. If using strawberries, hull and slice them. -
Step 3
Gently fold the prepared fruit into the softened ice cream until evenly distributed. -
Step 4
Spoon the fruit-filled ice cream mixture into the waffle cones, filling them generously. -
Step 5
In a microwave-safe bowl, melt the semi-sweet chocolate chips with the vegetable oil in 30-second intervals, stirring in between, until smooth. -
Step 6
Carefully dip the top portion of each filled cone into the melted chocolate, allowing excess to drip off. -
Step 7
Place the dipped cones on a parchment-lined baking sheet and freeze for at least 30 minutes, or until the chocolate is firm.
Important Information
Nutrition Facts (Per Serving)
It is important to consider this information as approximate and not to use it as definitive health advice.
Allergy Information
Please check ingredients for potential allergens and consult a health professional if in doubt.