Nut Free Pesto – Delicious & Easy Allergy Friendly Recipe
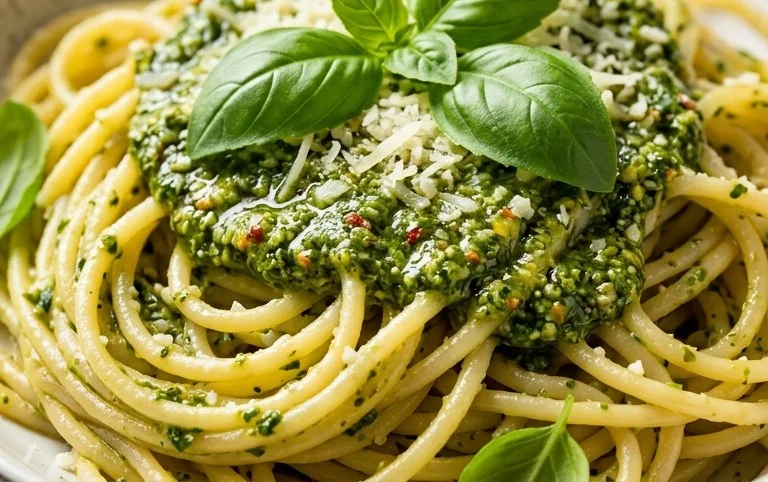
Nut Free Pesto is a revelation for so many of us! For years, the vibrant, herbaceous goodness of traditional pesto was off-limits due to nut allergies or dietary restrictions. But that doesn’t mean you have to miss out on this incredibly versatile sauce. Imagin extracte slathering a perfectly toasted slice of bread with this bright green delight, or tossing it with your favorite pasta for an instant flavor explosion. What truly makes this Nut Free Pesto special is its ability to deliver all the classic pesto punch – the garlicky zing, the peppery basil, the tangy Parmesan – without a single nut in sight. It’s a game-changer for families, parties, or anyone looking for a delicious and inclusive alternative. Get ready to elevate your meals with this simple, yet spectacular, nut-free version of a beloved classic.
Why This Nut Free Pesto is a Must-Try
So much flavor, absolutely no nuts!
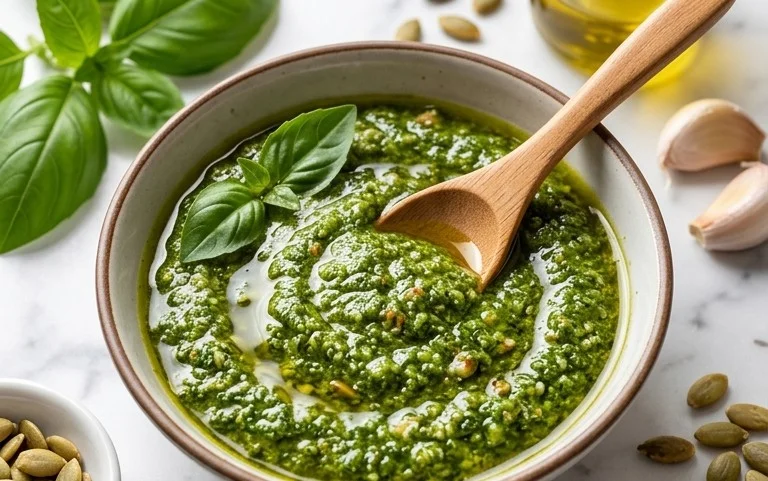
Nut-Free Pesto: A Creamy, Flavorful Delight for Everyone
Pesto is a beloved sauce, bursting with fresh, vibrant flavors. Traditionally, it’s made with pine nuts, but for those with nut allergies or simply looking for an alternative, a nut-free version is a fantastic option. This recipe delivers all the herbaceous goodness and creamy texture you expect from pesto, without any nuts. It’s incredibly versatile, perfect for tossing with pasta, spreading on sandwiches, dolloping onto grilled meats or vegetables, or even stirring into soups. You’ll be amazed at how simple it is to create this flavor powerhouse right in your own kitchen. Forget the store-bought versions laden with preservatives; this homemade nut-free pesto is fresh, vibrant, and completely customizable to your taste.
Ingredients:
Crafting Your Nut-Free Pesto
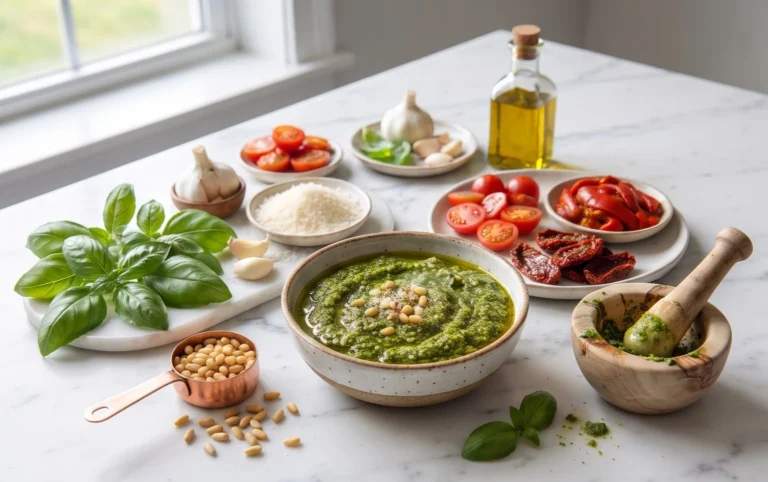
The beauty of pesto lies in its simplicity and the freshness of its ingredients. This recipe focuses on letting the vibrant basil and savory Parmesan shine, creating a sauce that’s both elegant and comforting.
Once your nut-free pesto is ready, you can use it immediately or store it for later. To store, transfer the pesto to an airtight container. To prevent oxidation and maintain its vibrant green color, pour a thin layer of olive oil over the top of the pesto before sealing the container. This acts as a protective barrier. Refrigerated, homemade nut-free pesto will typically keep well for up to a week. For longer storage, you can freeze portions of pesto in ice cube trays, then transfer the frozen cubes to a freezer bag. This is a convenient way to have single servings ready to go for future meals. Enjoy the fresh, vibrant taste of this nut-free pesto in countless delicious ways!
Conclusion:
I hope you enjoyed learning how to make this delicious nut-free pesto! This recipe is a fantastic alternative for those with nut allergies or anyone looking to switch up their classic pesto. The vibrant basil, savory garlic, and salty Parmesan (or nutritional yeast for a dairy-free option) create a wonderfully fresh and versatile sauce that’s surprisingly easy to whip up. It’s perfect for adding a burst of flavor to pasta, spreading on sandwiches, drizzling over grilled vegetables, or even using as a dip. Don’t be afraid to experiment with the suggested variations – adding a pinch of chili flakes or a squeeze of lemon juice can elevate it even further. So please, give this nut-free pesto a try; I’m confident you’ll find it a new staple in your kitchen!
Frequently Asked Questions:
Is this pesto truly nut-free?
Yes, absolutely! This recipe is specifically designed to exclude all nuts. Instead of pine nuts, we rely on the natural creaminess of the basil and the oil to create a luscious texture. This makes it a safe and enjoyable option for many people with nut allergies.
How long does nut-free pesto last?
When stored properly in an airtight container in the refrigerator, this nut-free pesto should last for about 5-7 days. To maximize its freshness, you can pour a thin layer of olive oil over the top before sealing the container. This acts as a barrier against oxidation.
Can I freeze this nut-free pesto?
Yes, you can! Freezing is a great way to preserve this nut-free pesto for longer. You can freeze it in an ice cube tray for perfectly portioned servings that are easy to thaw, or in a larger airtight container. Once frozen, it can last for several months.
Nut-Free Pesto
A delicious and vibrant nut-free pesto, perfect for pasta, sandwiches, or as a dip. This recipe uses readily available ingredients and omits traditional nuts for allergen-friendly enjoyment.
Ingredients
-
2 cups fresh basil
-
2 garlic cloves
-
1/2 cup freshly grated Parmesan cheese
-
1/4 cup olive oil
-
1/4 teaspoon salt
-
1/8 teaspoon pepper
Instructions
-
Step 1
Wash and thoroughly dry the fresh basil leaves. -
Step 2
Peel and mince the garlic cloves. -
Step 3
In a food processor, combine the basil leaves, minced garlic, grated Parmesan cheese, salt, and pepper. -
Step 4
Pulse the ingredients until coarsely chopped. -
Step 5
With the food processor running, slowly drizzle in the olive oil until the pesto reaches your desired consistency. -
Step 6
Taste and adjust seasoning if necessary.
Important Information
Nutrition Facts (Per Serving)
It is important to consider this information as approximate and not to use it as definitive health advice.
Allergy Information
Please check ingredients for potential allergens and consult a health professional if in doubt.