Renee Paj Recipe- Delicious & Easy Sweet Treat
Renee Paj is not just a dish; it’s a warm hug in a bowl, a nostalgic whisper of comfort that has captured the hearts of many. There’s a reason this particular Renee Paj recipe has become a cherished favorite for countless home cooks. It’s that perfect balance of creamy, savory goodness with a delightful hint of sweetness that just sings. What truly sets this Renee Paj apart is its effortless elegance. Despite its humble origin extracts, it possesses a sophistication that makes it suitable for a weeknight family dinner or a special gathering with friends. The aroma alone, as it simmers, is enough to make your stomach rum extractble and your spirit soar. It’s a culinary masterpiece that’s surprisingly easy to recreate in your own kitchen, bringin extractg that beloved taste and feeling of home to your table. Prepare to fall in love with this incredible Renee Paj!
Ingredients:
Getting Started with Your Delicious Renee Paj
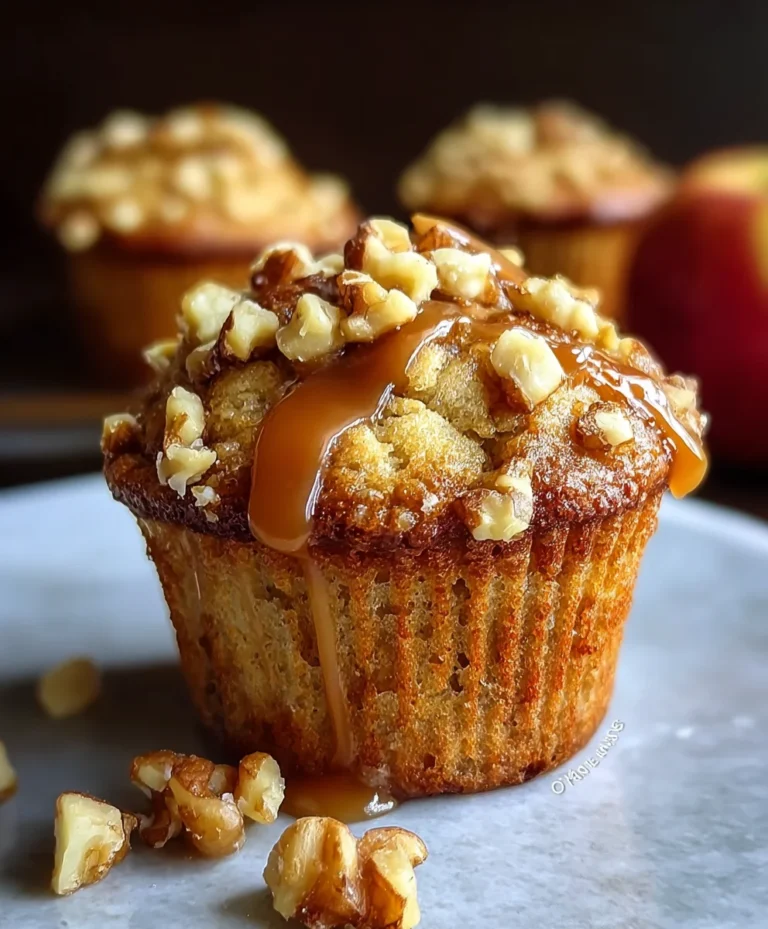
There’s something incredibly comforting about a warm, homemade treat, and this Renee Paj is precisely that. It’s a delightful combination of sweet, ripe bananas, hearty oats, and a hint of cinnamon, all baked into a wonderfully moist and satisfying bar. Perfect for breakfast on the go, an afternoon pick-me-up, or even a light dessert, this recipe is straightforward and yields fantastic results. The key to a truly exceptional Renee Paj lies in using very ripe bananas – the spottier, the better! Their natural sweetness and moisture are essential for achieving that perfect texture. Let’s dive into creating this crowd-pleaser.
Preparing the Base
First things first, let’s preheat your oven and prepare your baking pan. You’ll want to preheat your oven to 350 degrees Fahrenheit (175 degrees Celsius). While the oven is heating up, take an 8×8 inch baking pan and lightly grease it. You can use butter, cooking spray, or a bit of your cooking oil. Alternatively, you can line it with parchment paper, leaving an overhang on the sides to make lifting the finished paj out a breeze. This prevents sticking and makes for easy cleanup.
Now, let’s gather our dry ingredients. In a medium-sized mixing bowl, whisk together the 1 cup of old fashioned oats, 1 1/4 cups of all purpose flour, 1/2 cup of light brown sugar (make sure it’s packed firmly into your measuring cup for accurate sweetness), 1/2 teaspoon of kosher salt, 1/2 teaspoon of baking soda, 1/4 teaspoon of baking powder, and 1/2 teaspoon of ground cinnamon. Give these dry ingredients a good whisk until they are well combined. This ensures that all the leavening agents and spices are evenly distributed throughout the paj.
Mashing the Bananas and Combining Wet Ingredients
Next, we move on to our star ingredient: the bananas. Take your 3 large, ripe bananas and place them in a separate, larger mixing bowl. Using a fork or a potato masher, mash the bananas until they are mostly smooth. A few small lumps are perfectly fine and can add a nice textural element, but you want a relatively cohesive banana mash. The riper the bananas, the easier they will be to mash and the sweeter your paj will be.
To the mashed bananas, add your 2 large eggs, 1 teaspoon of pure vanilla extract, and 3 tablespoons of cooking oil. Whisk these wet ingredients together with the mashed bananas until everything is thoroughly incorporated. The mixture might look a little glossy and speckled, which is exactly what we’re aiming for. The oil will contribute to the moisture and tenderness of the final paj, while the eggs act as a binder and add richness.
Bringin extractg It All Together
Now it’s time to combine the wet and dry ingredients. Gradually add the dry ingredient mixture to the wet banana mixture. Stir everything together with a spatula or wooden spoon until just combined. Be careful not to overmix here. Overmixing can develop the gluten in the flour too much, which can lead to a tougher paj. You just want to make sure there are no streaks of dry flour remaining.
If you’re using the optional chopped walnuts, now is the time to gently fold them into the batter. This adds a lovely crunch and nutty flavor that complements the sweetness of the bananas beautifully. Again, stir just until they are evenly distributed throughout the batter.
Baking Your Renee Paj to Perfection
Pour the prepared batter into your greased or parchment-lined 8×8 inch baking pan. Use your spatula to spread the batter evenly, ensuring it reaches all the corners of the pan. The batter will be quite thick, so gently press it down to create a relatively flat surface. This will help the paj bake evenly.
Place the pan in your preheated oven and bake for approximately 25-30 minutes. The exact baking time will depend on your oven, so keep an eye on it. You’ll know your Renee Paj is ready when it’s golden brown around the edges and a toothpick inserted into the center comes out clean, or with just a few moist crum extractbs attached (not wet batter). The aroma filling your kitchen will be absolutely divine!
Cooling and Enjoying
Once baked, carefully remove the pan from the oven. It’s crucial to let the Renee Paj cool completely in the pan on a wire rack. This step is important because it allows the paj to set properly. If you try to cut into it while it’s still hot, it might crum extractble. Patience here is key to achieving neat, delicious bars.
After the paj has cooled down completely, you can use the parchment paper overhang (if you used it) to lift the entire block out of the pan. Then, place it on a cutting board and slice it into squares or bars. You can make them as large or as small as you like. Enjoy your homemade Renee Paj warm or at room temperature. It’s delicious on its own, but you could also serve it with a dollop of yogurt, a drizzle of honey, or even a smear of cream cheese if you’re feeling decadent. Store any leftovers in an airtight container at room temperature for a few days, or in the refrigerator for longer storage.
Conclusion:
I hope you’ve enjoyed learning how to make Renee Paj! This recipe is truly a winner because it’s both incredibly comforting and surprisingly simple to prepare. The balance of sweet and savory flavors, with the delicate texture of the cooked rice and the rich, creamy sauce, makes it a perfect dish for any occasion. Whether you’re looking for a satisfying weeknight dinner or a delightful treat to share with loved ones, Renee Paj delivers on all fronts. Don’t hesitate to gather your ingredients and give this wonderful recipe a try – you won’t regret it!
Serving Renee Paj is a joy, as it pairs beautifully with so many accompaniments. I personally love it with a side of steamed greens, like bok choy or spinach, to add a fresh counterpoint to its richness. It’s also fantastic with a dollop of plain yogurt or a sprinkle of toasted sesame seeds for extra texture and flavor. For variations, feel free to add some cooked shredded chicken or a handful of sauteed mushrooms to the mix for added protein and depth. Experimenting with different spices, like a pinch of nutmeg or a touch of star anise, can also create unique twists on the classic flavor profile.
Frequently Asked Questions about Renee Paj:
Can I make Renee Paj ahead of time?
Yes, you absolutely can! Renee Paj can be made a day in advance and stored in an airtight container in the refrigerator. When you’re ready to serve, gently reheat it on the stovetop over low heat, adding a splash of milk or water if it seems too thick. It might lose a tiny bit of its initial creaminess, but it will still be delicious.
What is the best type of rice to use for Renee Paj?
While many types of rice will work, a medium-grain or short-grain white rice is generally preferred for its ability to break down slightly and create a wonderfully creamy texture. Arborio rice, commonly used for risotto, is also an excellent choice if you’re aiming for an exceptionally smooth and luscious result for your Renee Paj.
Is Renee Paj very sweet?
Renee Paj has a pleasant sweetness, but it’s usually balanced by the savory elements like the broth and any added seasonings. The sweetness comes primarily from the rice itself and any optional additions like a touch of honey or sugar if you prefer it sweeter. You can always adjust the sweetness to your personal preference by reducing or increasing the amount of sweetener used.
Renee Paj
A delicious and easy banana oat bake, perfect for breakfast or a snack.
Ingredients
-
1 cup old fashioned oats
-
1 1/4 cups all purpose flour
-
1/2 cup light brown sugar, packed
-
1/2 tsp. kosher salt
-
1/2 tsp. baking soda
-
1/4 tsp. baking powder
-
1/2 tsp. ground cinnamon
-
3 large, ripe bananas, cut into chunks
-
2 large eggs
-
1 tsp. pure vanilla extract
-
3 TBSP cooking oil
-
1/3 cup chopped walnuts (optional)
Instructions
-
Step 1
Preheat oven to 350°F (175°C). Grease and flour an 8×8 inch baking dish. -
Step 2
In a large bowl, whisk together the flour, brown sugar, salt, baking soda, baking powder, and cinnamon. -
Step 3
In a separate bowl, mash the bananas until smooth. Whisk in the eggs, vanilla extract, and cooking oil. -
Step 4
Add the wet ingredients to the dry ingredients and stir until just combined. Fold in the oats and chopped walnuts (if using). -
Step 5
Pour the batter into the prepared baking dish and spread evenly. -
Step 6
Bake for 30-35 minutes, or until a toothpick inserted into the center comes out clean. -
Step 7
Let cool slightly before serving.
Important Information
Nutrition Facts (Per Serving)
It is important to consider this information as approximate and not to use it as definitive health advice.
Allergy Information
Please check ingredients for potential allergens and consult a health professional if in doubt.