Easy Homemade Fruit Leather Recipe – Sweet & Simple Treat
Homemade fruit leather recipes are a fantastic way to harness the pure, unadulterated sweetness of fresh fruit, transforming it into a delightful and healthy snack. Remember those vibrant, chewy strips from your childhood? We can recreate that magic, and honestly, it’s even better when you make it yourself. The reason so many of us adore homemade fruit leather is its incredible versatility; you can use almost any fruit you have on hand, from classic strawberries and apples to more adventurous combinations like mango and raspberry. What truly makes this treat special is the absence of artificial flavors, preservatives, and excessive sugar often found in store-bought versions. It’s a pure taste of sunshine, packed with vitamins and goodness, and surprisingly simple to prepare. Get ready to impress yourself and your loved ones with this wonderfully satisfying homemade fruit leather recipe!
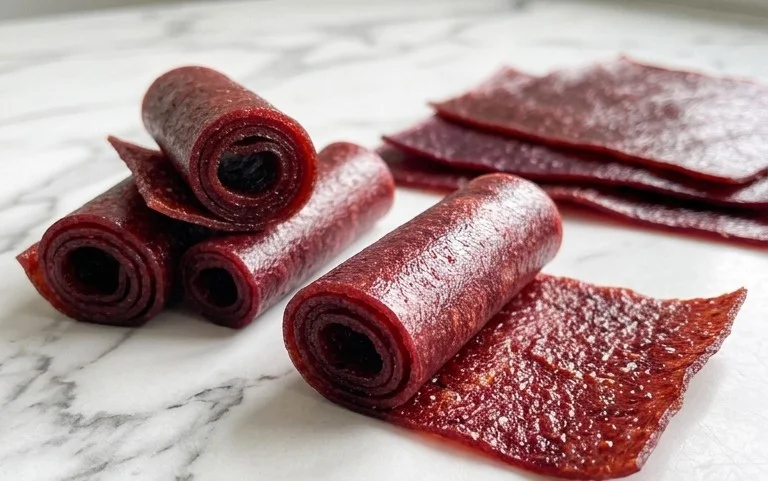
This article will guide you through creating delicious homemade fruit leather, a delightful and healthy treat that’s perfect for snacking, lunchboxes, or even a sweet dessert. Making your own fruit leather is incredibly rewarding, allowing you to control the ingredients and flavors, and it’s surprisingly simple. Forget those pre-packaged options filled with artificial flavors and excessive sugar; we’re going to make the real deal, packed with the pure taste of fruit.
Ingredients:
Instructions:
Preparing the Fruit Base
The first step in creating your wonderful fruit leather is to prepare your fruit. You can use almost any fruit you like, and the beauty of homemade is that you can combine different fruits for unique flavor profiles. Think about what’s in season or what you have readily available. Berries like strawberries, raspberries, and blueberries are fantastic because they are naturally sweet and vibrant. Peaches and apricots offer a lovely sweetness and smooth texture when puréed. Apples, when cooked down, provide a classic base that’s well-loved. Mangoes are a dream for their tropical sweetness and creamy texture. For this recipe, I recommend starting with about 2 cups of chopped fruit. If you’re using frozen fruit, you can thaw it completely before chopping. Ensure all stems, cores, and pits are removed. Chop the fruit into roughly uniform pieces to ensure even cooking.
Cooking the Fruit
Once your fruit is prepped, it’s time to start cooking it down. This is where the magic begin extracts to happen. Transfer your chopped fruit to a saucepan. You’ll want to use a medium-sized pot, something that gives the fruit plenty of room to cook without boiling over. Add the 3 tablespoons of white sugar to the fruit. The sugar not only adds sweetness but also helps to preserve the fruit leather and create a more pliable texture. Don’t worry if it seems like a lot of sugar initially; it distributes throughout the entire batch. Now, add the juice of half a lemon. The lemon juice is crucial for a few reasons. It brightens the fruit’s natural flavors, adds a pleasant tangin extractess that balances the sweetness, and its acidity helps to act as a natural preservative, contributing to the longevity of your fruit leather.
Place the saucepan over medium heat. Stir the fruit and sugar mixture occasionally as it heats up. You’ll notice the fruit starting to soften and release its juices. The goal here is to cook the fruit until it’s tender and easily mashable. This usually takes about 10-15 minutes, depending on the type of fruit you’re using. If your fruit is particularly juicy, you might not need to add any extra liquid. However, if you’re using a drier fruit like apples, you might want to add a tablespoon or two of water to prevent it from sticking to the bottom of the pan. Keep stirring to prevent scorching, which can impart an unpleasant, burnt flavor to your fruit leather.
Creating the Purée
After the fruit has softened and cooked down, the next step is to turn it into a smooth purée. This is what will give your fruit leather its characteristic smooth texture. You have a few options for this. For the smoothest results, a blender or a food processor is ideal. Carefully transfer the cooked fruit mixture to your blender or food processor. Blend until you achieve a completely smooth consistency, with no chunks of fruit remaining. If you don’t have a blender or food processor, a potato masher can work, but you might end up with a slightly chunkier texture. You could also use an immersion blender directly in the saucepan. Whichever method you choose, ensure you blend or mash until the mixture is as smooth as possible. If you prefer a very thin consistency for easier spreading, you can strain the purée through a fine-mesh sieve, pressing out as much liquid as possible. This will result in a more concentrated flavor.
Dehydrating or Baking the Fruit Leather
Now comes the exciting part: transforming your fruit purée into chewy fruit leather! You have two primary methods for this: using a dehydrator or your oven.
Using a Dehydrator: If you have a food dehydrator, this is the most efficient method. Line your dehydrator trays with parchment paper or silicone dehydrator sheets. Spread the fruit purée evenly onto the prepared sheets, aiming for a thickness of about 1/8 to 1/4 inch. You want to ensure an even layer so that it dries uniformly. Leave a small border around the edge so it doesn’t stick to the dehydrator frame. Set your dehydrator to the fruit setting, typically around 135°F (57°C), and dehydrate for 6-12 hours, or until the fruit leather is no longer sticky to the touch and peels easily from the parchment paper. The exact time will depend on the thickness of your purée and the humidity in your environment.
Using Your Oven: If you don’t have a dehydrator, your oven can do the job. Preheat your oven to its lowest possible setting, usually around 140-170°F (60-75°C). Line a baking sheet with parchment paper, ensuring the paper covers the entire surface. Spread the fruit purée evenly over the parchment paper to a thickness of about 1/8 to 1/4 inch. You might need to use two baking sheets depending on the amount of purée. Place the baking sheets in the preheated oven. It’s important to prop the oven door open slightly (using a wooden spoon is a good trick) to allow moisture to escape, which helps in the drying process. Bake for 4-8 hours, checking regularly. The fruit leather is ready when it feels dry and leathery, and it can be peeled from the parchment paper without sticking. Be patient; this method takes time and requires careful monitoring to prevent burning.
Cooling and Storing Your Fruit Leather
Once your fruit leather has reached the desired consistency – it should be pliable but not sticky – carefully remove it from the dehydrator or oven. Let it cool completely on the parchment paper. This cooling period is essential, as the fruit leather will firm up slightly as it cools. Once fully cooled, you can peel it off the parchment paper. If you made one large sheet, you can cut it into strips or squares using a sharp knife or a pizza cutter. For individual portions, you can roll up the cooled sheets tightly in plastic wrap or parchment paper. Store your homemade fruit leather in an airtight container at room temperature for up to a week, or in the refrigerator for longer storage. If you live in a humid climate, refrigeration is recommended to prevent stickiness. Enjoy this healthy and delicious homemade treat!
Conclusion:
Making your own fruit leather is an incredibly rewarding and simple process that yields a delicious and healthy treat. The beauty of this homemade fruit leather recipe lies in its versatility and the satisfaction of creating something so vibrant and flavorful from scratch. It’s a fantastic way to use up seasonal fruits, and the resulting leathery strips are perfect for lunchboxes, hiking snacks, or a guilt-free sweet indulgence. Don’t be intimidated by the drying process; your oven or dehydrator does most of the work, and the aroma that fills your kitchen is simply delightful!
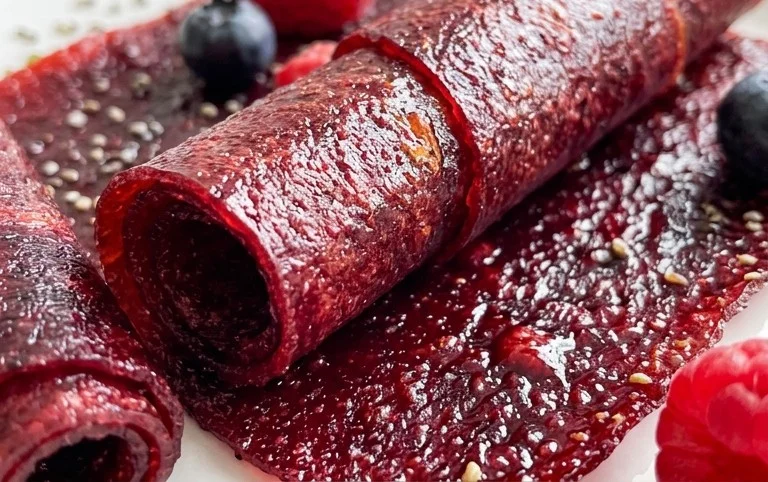
We love serving fruit leather in thin strips, rolled up like little fruit candies. It’s also a wonderful addition to cheese boards or can be cut into fun shapes for kids. For variations, feel free to experiment with different fruit combinations like strawberry-banana, peach-raspberry, or even add a pinch of cinnamon or gin extractger for an extra flavor kick. So go ahead, gather your favorite fruits, and give this fantastic homemade fruit leather recipe a try. You’ll be amazed at how easy it is and how much you enjoy this delightful, healthy snack!
Frequently Asked Questions:
Can I make fruit leather without a dehydrator?
Absolutely! This recipe is designed to work perfectly in a conventional oven set to its lowest temperature. You’ll just need to keep a close eye on it and potentially rotate your baking sheets to ensure even drying. Some ovens have a “warm” setting which can be ideal.
What kind of fruit is best for fruit leather?
Almost any fruit will work! Berries, stone fruits like peaches and apricots, apples, pears, and tropical fruits like mango and pineapple are all excellent choices. Fruits with higher natural pectin content, like apples and berries, tend to set up nicely.
How long does homemade fruit leather last?
When stored properly in an airtight container at room temperature, your homemade fruit leather can last for several weeks. For longer storage, you can keep it in the refrigerator or even freeze it.
Homemade Fruit Leather Recipe
Easy homemade fruit leather perfect for a healthy snack.
Ingredients
-
2 cups fruit, chopped
-
3 tbsp white sugar
-
½ whole lemon, just the juice
-
1 cup apple sauce
-
1 tsp vanilla extract
-
Pinch of salt
Instructions
-
Step 1
Preheat your oven to the lowest setting, typically 170°F (75°C). -
Step 2
Combine the chopped fruit, white sugar, lemon juice, apple sauce, vanilla extract, and salt in a blender or food processor. -
Step 3
Blend until completely smooth. If the mixture is too thick, add a tablespoon of water at a time until it reaches a pourable consistency. -
Step 4
Line a baking sheet with parchment paper or a silicone baking mat. Pour the fruit mixture onto the prepared baking sheet and spread it thinly and evenly. -
Step 5
Bake in the preheated oven for 4 to 6 hours, or until the fruit leather is no longer sticky to the touch and can be easily peeled from the parchment paper. -
Step 6
Let the fruit leather cool completely on the baking sheet before cutting it into strips or shapes.
Important Information
Nutrition Facts (Per Serving)
It is important to consider this information as approximate and not to use it as definitive health advice.
Allergy Information
Please check ingredients for potential allergens and consult a health professional if in doubt.