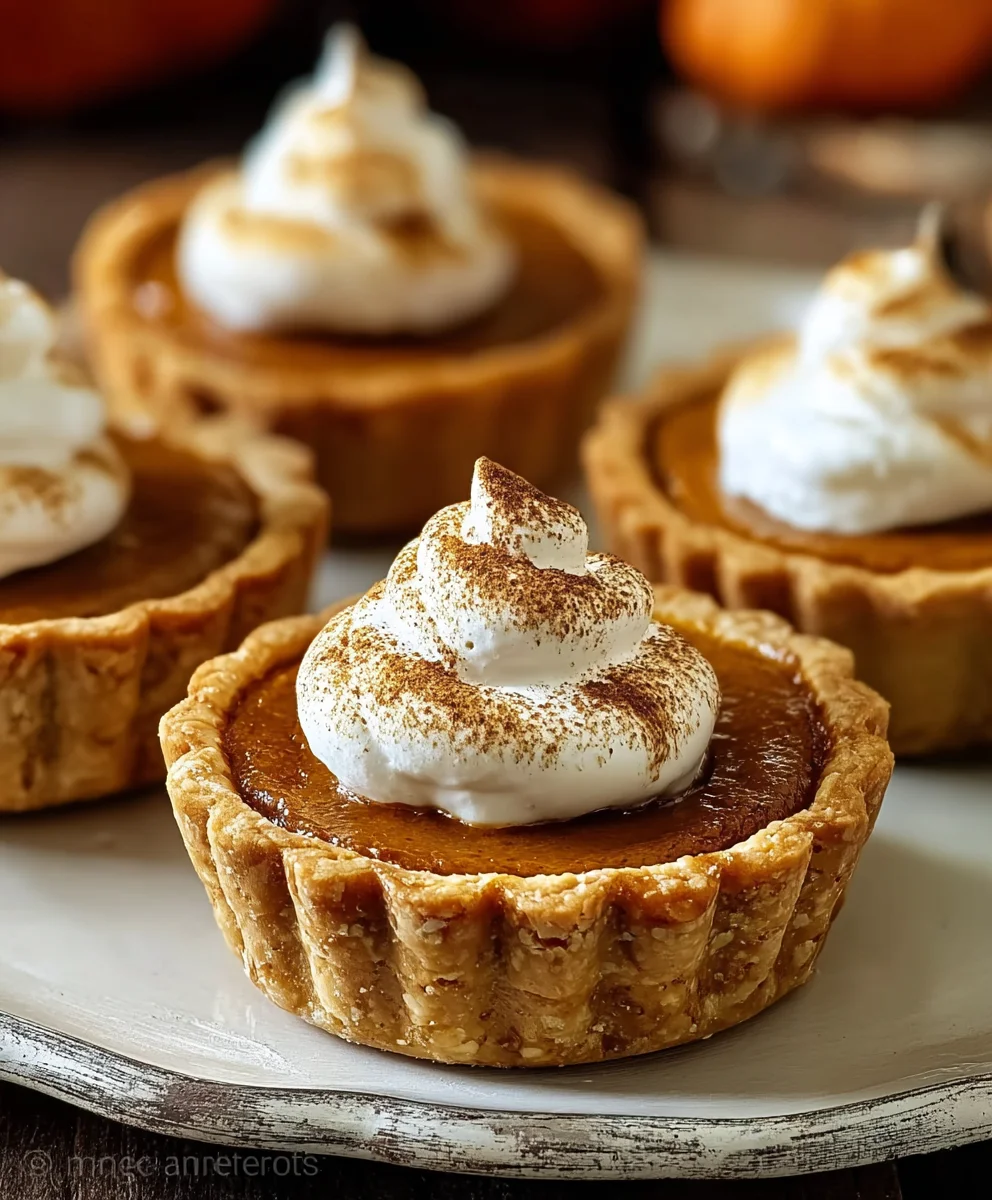
Easy Mini Pumpkin Pies – Delicious Fall Dessert
Mini Pumpkin Pies are a delightful way to capture the essence of autumn in a perfectly portioned, utterly charming package. Imagin extracte biting into a warm, flaky crust, giving way to a rich, velvety pumpkin filling that’s just the right amount of sweet and spiced. These aren’t just desserts; they’re edible little jewels that evoke cozy evenings, crisp air, and the comforting embrace of fall. What is it about these tiny treasures that captures our hearts, year after year? It’s their irresistible cuteness, of course, but more importantly, it’s the incredible flavor explosion packed into each bite. Unlike their larger counterparts, mini pumpkin pies offer an unparalleled satisfaction of individual indulgence. They’re perfect for parties, potlucks, or simply treating yourself to a moment of pure, unadulterated bliss. Each one is a testament to the magic of simple ingredients transformed into something truly specigin extract bringing smiles and warming non-alcoholic spirits with every single taste.
Ingredients:
- 2 unbaked 9-inch pie crusts (store-bought or homemade)
- 1/3 cup packed brown sugar
- 2 tablespoons granulated sugar
- 1 1/2 teaspoons pumpkin pie spice
- 1/4 teaspoon salt
- 1 cup canned pumpkin puree (ensure it’s pure pumpkin and not pre-seasoned pumpkin pie filling)
- 3/4 cup evaporated milk
- 1 large egg, lightly beaten
- 1/2 teaspoon vanilla extract
- Whipped cream, for topping
Preparing the Crusts
Before we even think about the delicious pumpkin filling, it’s crucial to get our pie crusts ready. Since we’re making mini pumpkin pies, the easiest approach is to use store-bought 9-inch pie crusts. If you’re feeling ambitious and prefer homemade, that’s wonderful too! For this recipe, we’ll assume you have two unbaked 9-inch pie crusts ready to go. The beauty of using standard pie crusts for mini pies is the flexibility. You can either cut out smaller circles from the larger crusts, or if you have mini pie tins, you can use those. For this guide, let’s imagin extracte we’re going to cut circles from the larger crusts to fit into standard muffin tins, which will create perfectly portioned mini pies.
Gently unroll your unbaked pie crusts onto a clean, lightly floured surface. Using a round cookie cutter or a glass with a diameter of about 3 to 3.5 inches, carefully cut out as many circles as you can from each crust. Aim for at least 12 circles in total, and if you have enough space and want more, cut away! You can reroll the scraps once, but be careful not to overwork the dough. If you are using mini pie tins, simply press the dough into the tins, trimming any excess. If using muffin tins, lightly grease the cups to prevent sticking. Gently press your cut-out dough circles into the muffin tin cups, making sure they fit snugly against the bottom and sides. You want to create little pastry cups that will hold our flavorful filling. Pricking the bottom of the crusts with a fork a few times can help prevent bubbling during baking, though for mini pies this is often less of an issue. Set these prepared crusts aside while you mix the filling.
Mixing the Pumpkin Filling
Now for the star of the show – the pumpkin filling! This is where all those warm, cozy flavors come together. In a medium-sized mixing bowl, combine your dry ingredients first. Add the packed brown sugar, granulated sugar, pumpkin pie spice, and salt. Give these a good whisk together to ensure the spices and sugars are evenly distributed. This ensures that every bite of your mini pumpkin pie will have that perfect sweet and spiced balance.
Next, incorporate the wet ingredients. Add the canned pumpkin puree to the bowl. Make absolutely sure you are using pure pumpkin puree and not pumpkin pie filling, as the filling already contains sweeteners and spices and will throw off the flavor and consistency of your pies. Pour in the evaporated milk. Evaporated milk is key here; it provides a rich, creamy texture without making the filling too thin. Add the lightly beaten large egg. Using a whole egg helps to bind the filling and give it a custard-like consistency as it bakes. Finally, stir in the vanilla extract for that classic hint of warmth and depth.
Now, using a whisk or a sturdy spatula, mix everything together until it’s smooth and well combined. Scrape down the sides and bottom of the bowl to make sure no pockets of dry ingredients or unincorporated pumpkin remain. You want a homogenous, velvety mixture that smells absolutely divine. Don’t overmix; just combine until everything is incorporated. The color should be a beautiful, rich orange.
Filling and Baking the Mini Pies
With your pumpkin filling perfectly blended and your crusts ready, it’s time to bring them together. Carefully spoon the pumpkin filling into each prepared crust. Aim to fill them evenly, about two-thirds to three-quarters full. Be mindful not to overfill, as the filling will puff up slightly during baking. You want just enough filling to create a satisfyingly rich center without spilling over the edges of the crust. Using a small ladle or a spoon makes this step precise and less messy.
Now, preheat your oven to 375°F (190°C). Once the oven is at temperature, carefully place your muffin tin (or mini pie tins) onto a baking sheet. Baking on a sheet makes it easier to transfer the pies in and out of the oven and catches any potential drips. Bake for approximately 20-25 minutes, or until the filling is set and a knife inserted near the center comes out clean. The crusts should be golden brown. Keep an eye on them, as mini pies bake faster than full-sized ones. If the crust edges start to brown too quickly, you can loosely tent them with aluminum foil.
Cooling and Serving
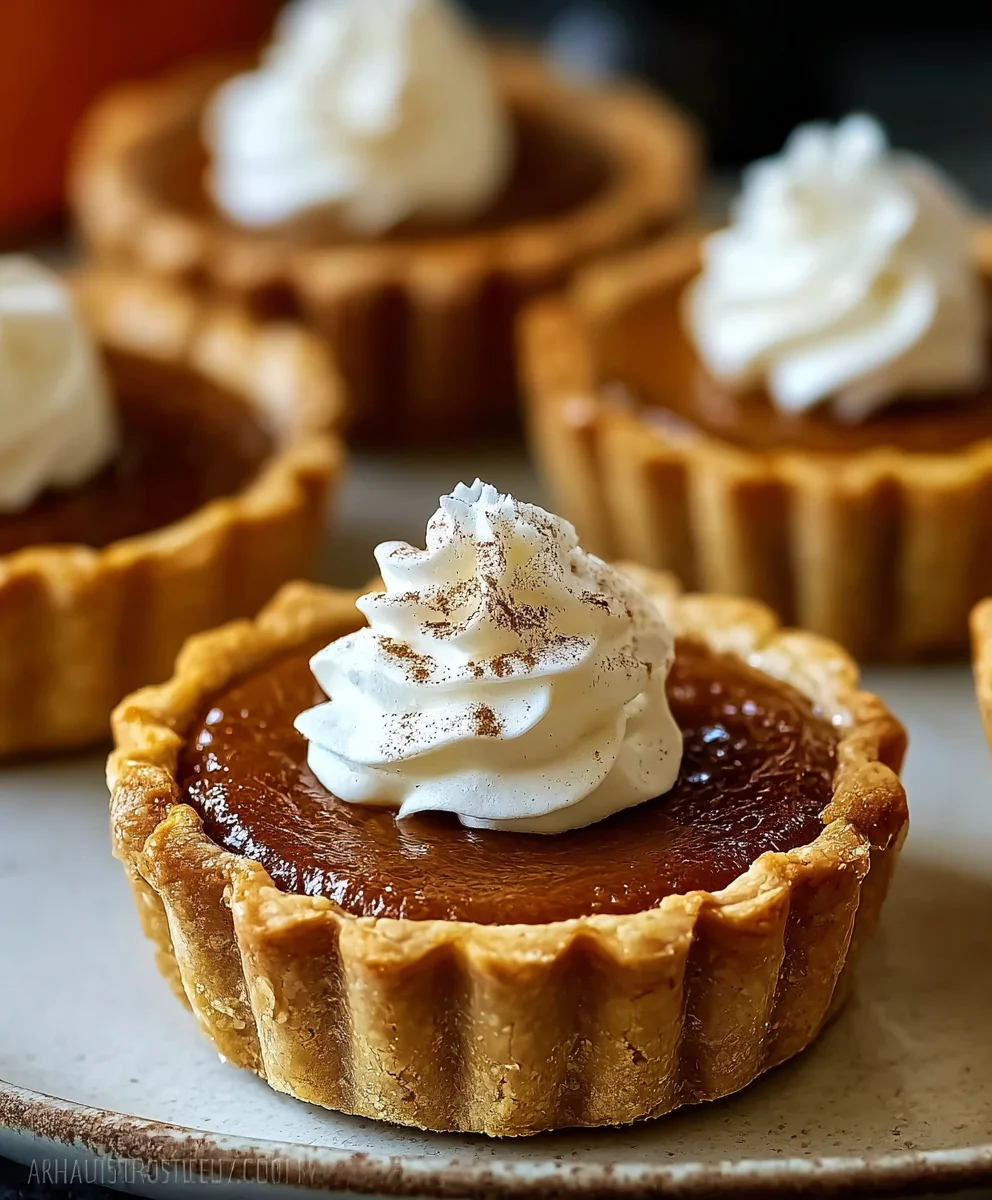
Once baked to perfection, carefully remove the baking sheet from the oven. Let the mini pumpkin pies cool in the muffin tin for about 10-15 minutes. This allows them to set up further and makes them easier to remove without breaking. After this initial cooling period, gently lift them out of the muffin tin using a small offset spatula or by carefully inverting the tin. Place them on a wire rack to cool completely. Allowing them to cool fully is important for the filling to achieve its final, firm texture. Trying to serve them too warm can result in a runny filling.
When your mini pumpkin pies have reached room temperature or are slightly chilled, they are ready to be adorned. The crowning glory for these little delights is a dollop of whipped cream. You can use store-bought whipped cream or whip your own heavy cream with a touch of sugar and vanilla extract for an extra special touch. A sprinkle of cinnamon or a small cinnamon stick can also add a lovely decorative element. Serve these adorable mini pumpkin pies at your next gathering or simply enjoy them as a perfect individual-sized fall treat.
Conclusion:
There you have it – a delightful and straightforward guide to making perfect Mini Pumpkin Pies! We’ve explored the simple steps to create these classic autumnal treats, ensuring a creamy, spiced filling nestled within a flaky, golden crust. These mini marvels are incredibly versatile and are sure to be a hit at any gathering, from Thanksgiving to casual get-togethers. Don’t be afraid to get creative with your toppings – a dollop of whipped cream, a sprinkle of cinnamon, or even a drizzle of caramel can elevate your Mini Pumpkin Pies even further. Remember, baking is an adventure, and the joy is in the process and the delicious outcome. So, gather your ingredients, preheat your oven, and enjoy the heartwarming aroma filling your kitchen as you bake these irresistible Mini Pumpkin Pies!
Frequently Asked Questions about Mini Pumpkin Pies:
Q1: Can I make the pie crust from scratch for my Mini Pumpkin Pies?
Absolutely! While store-bought crust is convenient, a homemade pie crust will undoubtedly elevate your Mini Pumpkin Pies. For mini pies, you can cut circles from a standard pie dough or press it directly into mini muffin tins. Ensure the crust is blind-baked for a few minutes before adding the filling to prevent a soggy bottom.
Q2: What are some good variations for Mini Pumpkin Pies?
The beauty of Mini Pumpkin Pies lies in their adaptability! For a richer flavor, try adding a touch of maple syrup to the filling or a splash of bourbon extract. You can also incorporate other spices like cardamom or gin extractger alongside the cinnamon and nutmeg. For a dairy-free option, use coconut milk or a plant-based evaporated milk substitute.
Easy Mini Pumpkin Pies – Delicious Fall Dessert
Delightful individual-sized pumpkin pies perfect for fall gatherings or a personal treat, featuring a rich and creamy pumpkin filling baked in a flaky crust.
Ingredients
-
2 unbaked 9-inch pie crusts (store-bought or homemade)
-
1/3 cup packed brown sugar
-
2 tablespoons granulated sugar
-
1 1/2 teaspoons pumpkin pie spice
-
1/4 teaspoon salt
-
1 cup canned pumpkin puree (ensure it’s pure pumpkin and not pre-seasoned pumpkin pie filling)
-
3/4 cup evaporated milk
-
1 large egg, lightly beaten
-
1/2 teaspoon vanilla extract
-
Whipped cream, for topping
Instructions
-
Step 1
Prepare the pie crusts by cutting out circles from the 9-inch crusts to fit into a muffin tin or mini pie tins. Gently press the dough into the prepared tins, creating little pastry cups. If using muffin tins, lightly grease the cups. Prick the bottom of the crusts with a fork a few times. -
Step 2
In a medium mixing bowl, whisk together the packed brown sugar, granulated sugar, pumpkin pie spice, and salt. -
Step 3
Add the canned pumpkin puree, evaporated milk, lightly beaten egg, and vanilla extract to the dry ingredients. Mix until smooth and well combined, scraping down the sides of the bowl. -
Step 4
Carefully spoon the pumpkin filling into each prepared crust, filling about two-thirds to three-quarters full. Avoid overfilling. -
Step 5
Preheat your oven to 375°F (190°C). Place the filled mini pies on a baking sheet and bake for approximately 20-25 minutes, or until the filling is set and a knife inserted near the center comes out clean. The crusts should be golden brown. -
Step 6
Let the mini pumpkin pies cool in the tin for 10-15 minutes, then carefully remove them and place on a wire rack to cool completely. Top with whipped cream before serving.
Important Information
Nutrition Facts (Per Serving)
It is important to consider this information as approximate and not to use it as definitive health advice.
Allergy Information
Please check ingredients for potential allergens and consult a health professional if in doubt.