Easy Bubblegum Ice Cream Recipe – Fun Treat
Bubblegum Ice Cream isn’t just a flavor; it’s a nostalgic trip back to childhood summers and carefree days. Think of it: that impossibly vibrant pink hue, the sweet, unmistakable aroma, and the pure joy of that first creamy spoonful. It’s a flavor that sparks delight, a whimsical escape from the ordinary, and a guaranteed crowd-pleaser, especially with the younger ones (and let’s be honest, us grown-ups too!). What makes bubblegum ice cream so special? It’s the playful simplicity, the vibrant taste that’s both sweet and a little bit mysterious, conjuring up images of sugary confections and playful adventures. It’s the ultimate fun flavor, a treat that’s as much about the experience as it is about the delicious taste. Today, we’re diving into how you can recreate this iconic bubblegum ice cream magic in your own kitchen. Get ready for a scoop of pure, unadulterated happiness!
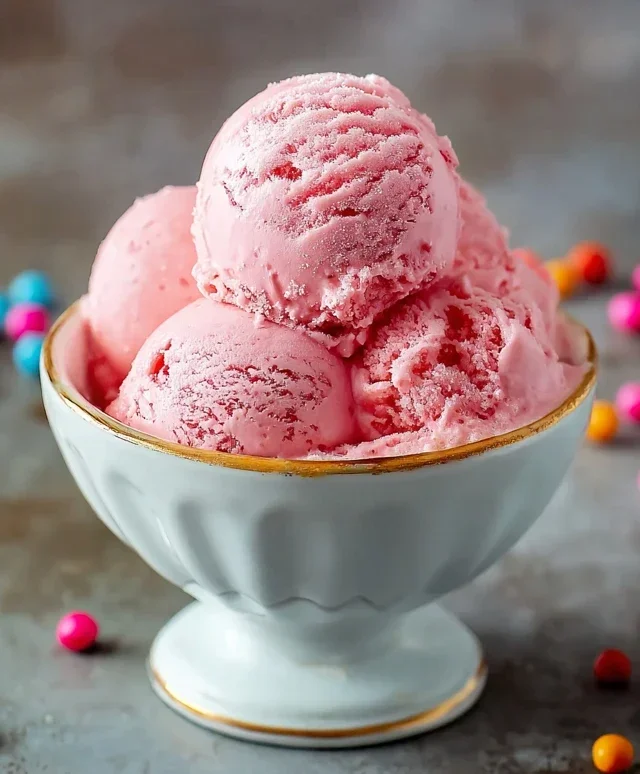
Bubblegum Ice Cream
Get ready to unleash your inner child with this gloriously vibrant and delightfully sweet Bubblegum Ice Cream! It’s a nostalgic trip back to carefree days, with a flavor that’s instantly recognizable and a color that’s pure joy. Forget the store-bought stuff; this homemade version is incredibly easy to make and delivers a punch of authentic bubblegum goodness that will have everyone scooping for more. Imagin extracte a creamy, dreamy base infused with that unmistakable sweet, slightly fruity bubblegum essence, punctuated by colorful confetti sprinkles for an extra pop of fun. We’re talking about pure, unadulterated happiness in a bowl! This recipe is perfect for birthdays, summer parties, or just whenever you need a serious mood boost.
Ingredients:
Instructions:
1. Prepare the Ice Cream Base: In a medium saucepan, combine the whole milk, granulated sugar, and kosher salt. Place the saucepan over medium heat. Whisk gently and continuously until the sugar is completely dissolved. It’s important to ensure all the sugar granules are gone; otherwise, you might end up with a grainy ice cream texture. Don’t let the mixture boil, but you want it warm enough to fully incorporate the sugar. Once the sugar is dissolved, remove the saucepan from the heat.
2. Infuse with Flavor and Color: To the warm milk and sugar mixture, add the bubblegum flavoring and vanilla extract. Stir well to distribute these delicious aromas and tastes throughout the liquid. Now comes the fun part: adding the color! Begin extract with just a few drops of pink or red food coloring. Stir until the color is evenly distributed. Continue adding food coloring, a drop at a time, stirring and checking the color until you achieve your desired shade of bubblegum pink. Remember, you can always add more, but you can’t take it away, so start conservatively and build up to that iconic bubblegum hue.
3. Chill the Base Thoroughly: This step is absolutely crucial for achieving a smooth and creamy ice cream. Pour the flavored and colored milk mixture into a bowl. Add the heavy cream to the bowl and whisk everything together until it’s well combined. Cover the bowl tightly with plastic wrap, ensuring the wrap touches the surface of the liquid to prevent a skin from forming. Place the covered bowl in the refrigerator and let it chill for at least 4 hours, or preferably overnight. The colder the base, the better your ice cream maker will be able to freeze it, resulting in a superior texture. Patience here is key!
4. Churn the Ice Cream: Once your base is thoroughly chilled, it’s time to churn it. If you’re using an ice cream maker, follow the manufacturer’s instructions for your specific model. Typically, you’ll pour the cold base into the pre-frozen bowl of your ice cream maker and let it churn for about 20-30 minutes, or until it reaches a soft-serve consistency. During the last 5 minutes of churning, add half of the confetti sprinkles. This allows them to get evenly distributed without breaking down too much during the churning process. The sprinkles will add a delightful texture and visual appeal.
5. Add the Final Touches and Freeze: Once the ice cream has churned to a soft-serve consistency, it’s time for the final layer of flavor and fun. Gently fold in the remaining confetti sprinkles. You want to mix them in just enough to distribute them throughout the ice cream without overmixing, which could break them up. Transfer the churned ice cream to an airtight freezer-safe container. You can press a piece of parchment paper or wax paper directly onto the surface of the ice cream before sealing the container to help prevent ice crystals from forming. Place the container in the freezer and let it freeze for at least 4-6 hours, or until it’s firm enough to scoop. For an extra festive presentation, you can stud the top of the ice cream with gumballs before freezing.
Enjoy your homemade Bubblegum Ice Cream! Serve it in bowls or cones, and don’t forget to top with a few extra gumballs for that classic touch. This ice cream is sure to be a hit with kids and adults alike.
Conclusion:
So there you have it – your guide to creating the most delightful homemade Bubblegum Ice Cream! This recipe is truly fantastic because it captures that nostalgic, fun, and undeniably sweet flavor of bubblegum in a creamy, dreamy frozen treat. It’s surprisingly simple to whip up, making it perfect for a weekend project with the family or a fun surprise for your next gathering. The vibrant pink hue alone is enough to bring smiles, and the taste is pure joy.
Serving this Bubblegum Ice Cream is as exciting as making it! It’s wonderful on its own, but consider topping it with a swirl of whipped cream and rainbow sprinkles for an extra pop of fun. For a more grown-up twist, try a drizzle of chocolate sauce or a few maraschino cherries. If you’re feeling adventurous with variations, you can fold in mini marshmallows for a gooey texture, add a handful of gummy bears right before freezing, or even swirl in some melted white chocolate for a creamy white chocolate bubblegum delight.
I truly encourage you to give this recipe a try! It’s a chance to relive some childhood memories and create new ones. Don’t be afraid to experiment and make it your own. Happy ice cream making!
Frequently Asked Questions:
Can I use real bubblegum flavoring instead of extract?
While some people do experiment with dissolving actual bubblegum, it can lead to an uneven texture and an overpowering, sometimes artificial, flavor. Bubblegum extract is specifically formulated to provide that classic, balanced taste and emulsify smoothly into the ice cream base. I recommend sticking with a good quality bubblegum extract for the best results with this Bubblegum Ice Cream recipe.
My ice cream isn’t as smooth as I’d like. What did I do wrong?
Texture issues can sometimes arise from not chilling the base enough before churning, or from over-churning. Ensure your ice cream base is thoroughly chilled, ideally overnight. Also, follow the churning time recommended by your ice cream maker’s instructions. If you find it’s still a bit icy, letting it firm up in the freezer for a few hours after churning usually helps achieve that perfect smooth consistency.
Bubblegum Ice Cream
A fun and colorful homemade ice cream bursting with bubblegum flavor and festive sprinkles.
Ingredients
-
2 cups heavy cream
-
1 cup whole milk
-
¾ cup granulated sugar
-
2 teaspoons bubblegum flavoring
-
1 teaspoon vanilla extract
-
¼ teaspoon kosher salt
-
Pink or red food coloring (to taste)
-
½ cup confetti sprinkles, divided
-
1 cup gumballs (for decoration)
Instructions
-
Step 1
In a large bowl, whisk together the heavy cream, whole milk, granulated sugar, bubblegum flavoring, vanilla extract, and kosher salt until the sugar is dissolved. -
Step 2
Add a few drops of pink or red food coloring to achieve your desired bubblegum pink color. Stir well. -
Step 3
Stir in ¼ cup of the confetti sprinkles into the ice cream base. -
Step 4
Pour the mixture into an ice cream maker and churn according to the manufacturer’s instructions until it reaches a soft-serve consistency. -
Step 5
Transfer the ice cream to an airtight container. Gently fold in the remaining ¼ cup of confetti sprinkles. -
Step 6
Freeze for at least 4 hours, or until firm. Garnish with gumballs before serving.
Important Information
Nutrition Facts (Per Serving)
It is important to consider this information as approximate and not to use it as definitive health advice.
Allergy Information
Please check ingredients for potential allergens and consult a health professional if in doubt.